Chilli Paneer
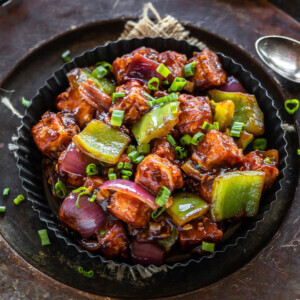
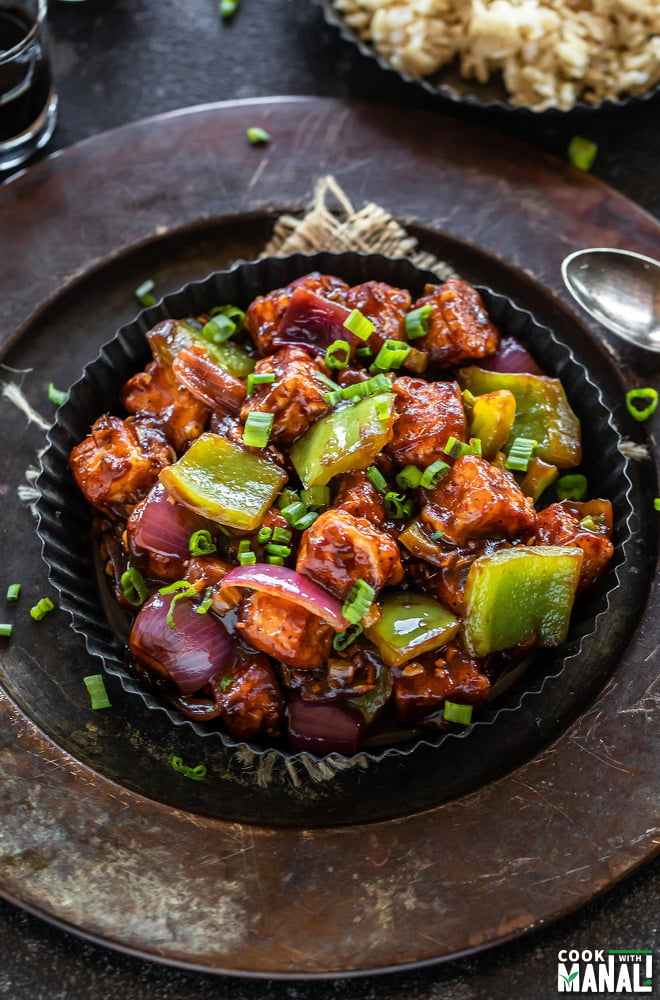
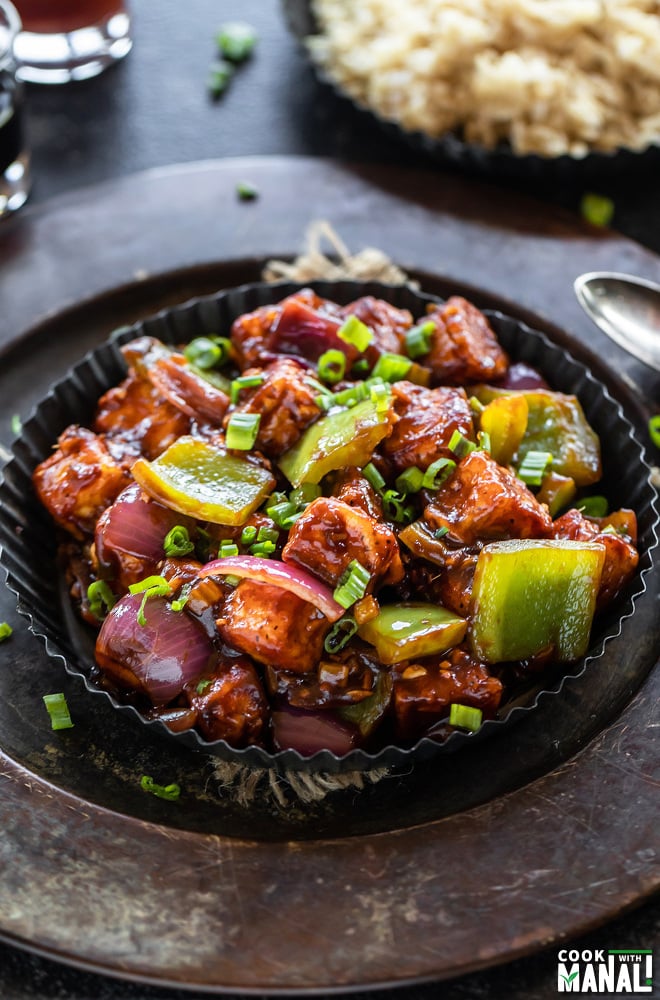
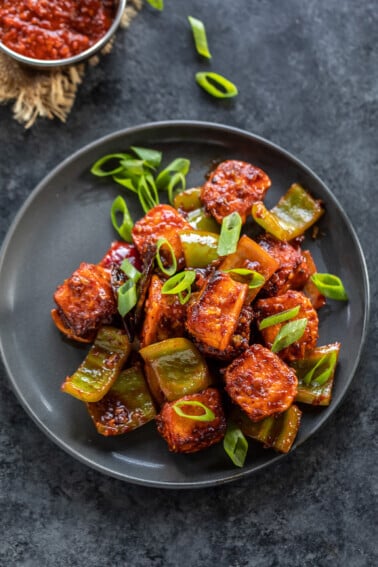
Chilli Paneer is a popular Indo-Chinese dish where cubes of fried crispy paneer are tossed in a spicy sauce made with soy sauce, vinegar, chili sauce! Goes well with rice or noodles!
This post may contain affiliate links. Please read our disclosure policy.
Make restaurant style Chilli Paneer at home with this step by step recipe!
Paneer (Indian cottage cheese) is tossed in a flavorful spicy sauce made with soy sauce, chili sauce, vinegar!
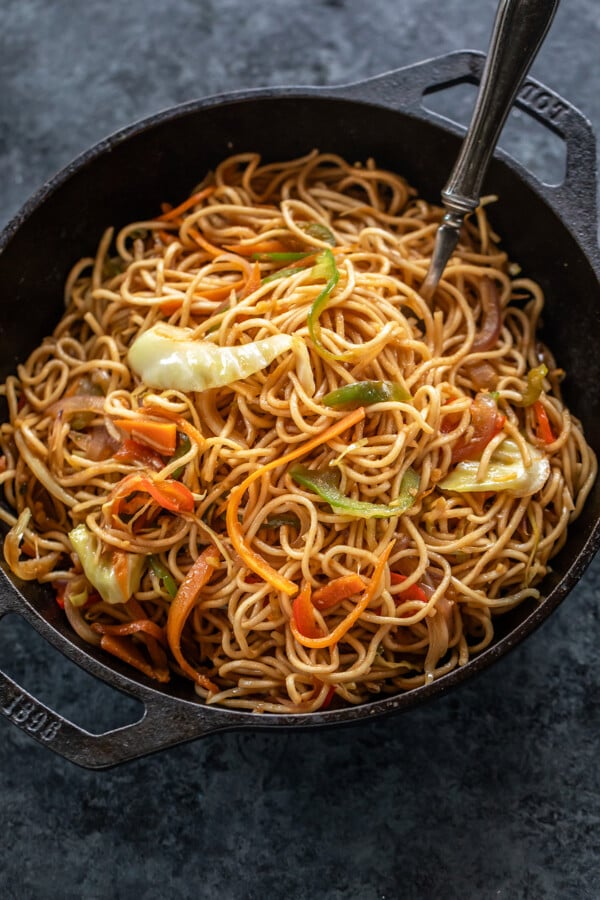
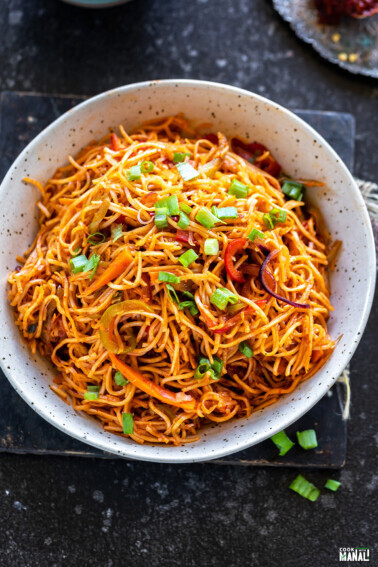
Tastes great with fried rice or hakka noodles.
Indo-Chinese is a cuisine in itself and hugely popular back home in India.
It’s the Indian version of Chinese and as you can imagine has lot of vegetarian options and lots of spices too.
In fact it’s so popular that we have a Indo-Chinese restaurant here in Seattle too!
I grew up loving Indo-Chinese, I actually thought this is how Chinese food was supposed to be.
It was only when I went to college in Scotland and tasted some real Chinese food I realized how wrong I was!
They aren’t even remotely similar, first of all the Indian version has tons of vegetarian options, like if you go to a Indo-chinese restaurant, half of the options on the menu will be vegetarian and then of course the spices!
One of the really popular Indo-Chinese dishes is Chilli Paneer and I am really excited to share my restaurant style chilli paneer recipe with you guys today!
There are two types of chilli paneer that are popular in India – the dry version which is served as an appetizer and the gravy version which is eaten as a main course with rice or noodles.
I am sharing a semi-dry version with you guys today. It has a little sauce and you can serve it as an appetizer or even as a main course.
How to Make Resaturant Style Chilli Paneer
If you follow these tips, you will end up with restaurant style chilli paneer – minus the MSG!
Prep everything beforehand: chop the veggies, get the sauce ready – do everything before you start making the recipe. You can fry the paneer, set it aside and then do all the prep work before you start working on the gravy.
Since we cook everything on high heat, it all comes together quickly and there’s hardly anytime to chop things in between.
Use sesame oil: I use toasted sesame oil in this chilli paneer recipe and it does make a difference to the final taste.
Use celery: same as sesame oil. Using finely chopped celery really enhances the flavors.
Cook on high heat: when cooking the veggies, the wok should constantly be oh high heat. You want all veggies to remain crunchy. Lower the flame once you have added the sauce.
Use quality ingredients: I always believe that using quality ingredients makes so much difference to the final outcome of the dish.
So do use good quality soy sauce, rice vinegar, sesame oil etc.
I also use 2 types of soy sauce, a regular one and dark soy sauce. If you can get hold of the dark soy sauce, you should do the same.
It gives the paneer a nice dark color.
Serving Suggestions
You can serve this as an appetizer or as a main course.
It’s kind of semi-dry version so it works both ways.
If serving as an appetizer, serve it as such.
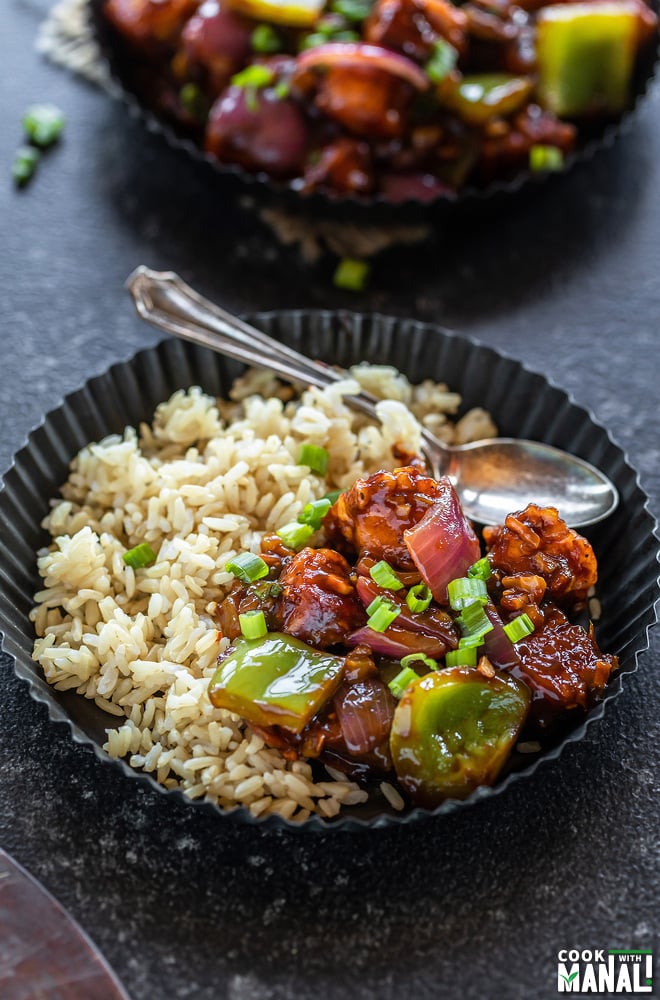
If serving as a main course, pair it with plain brown rice, fried rice or noodles.
Method
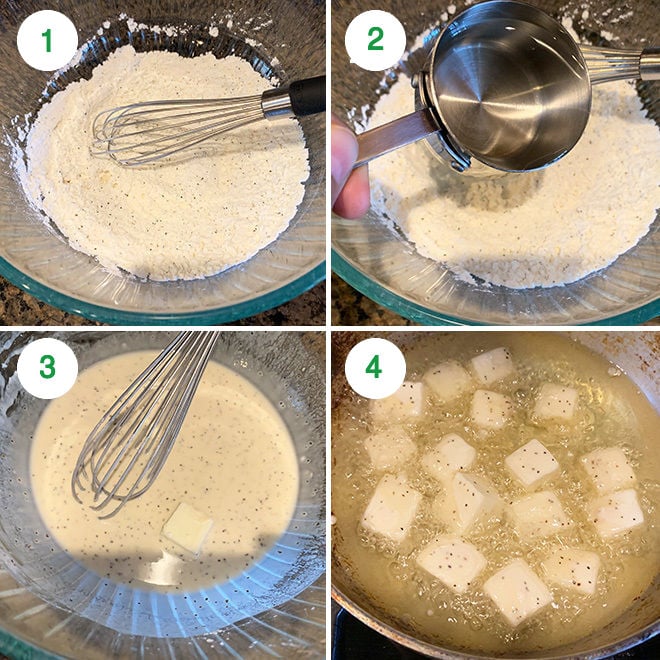
1- Cut paneer into cubes. To a large bowl, add 3 tablespoons cornstarch, 3 tablespoons flour along with salt, pepper.
2- Add water to make a free flowing batter, it should neither be thick nor thin. I added little less than 1/2 cup water here. Meanwhile heat oil in a wok/kadai on medium heat to deep fry the paneer.
3- Dip each paneer cube into the batter.
4- And then add them into the hot oil.
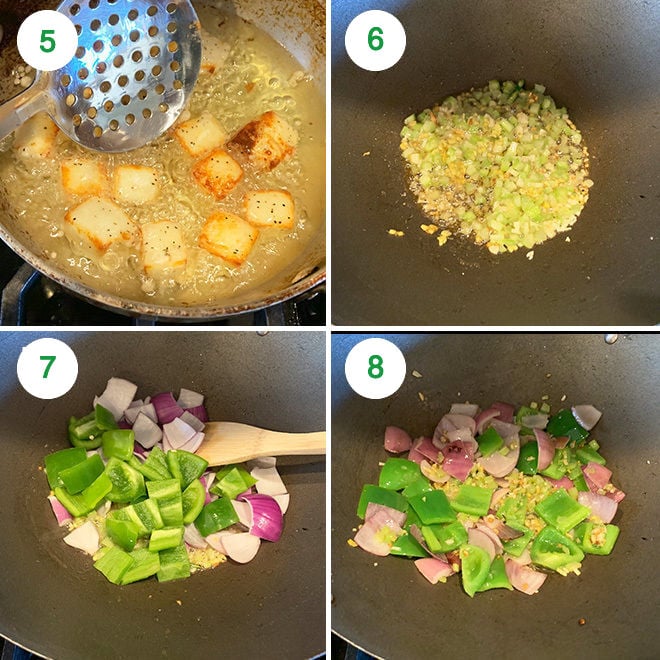
5- Fry until the paneer pieces get golden brown and crispy from both sides. Drain the fried paneer on paper towel.
Meanwhile, in a measuring jar or bowl, add soy sauce (I use regular and dark soy sauce, 1 tablespoon each), rice vinegar, green chili sauce, tomato ketchup and sugar. Mix until all is well combined and set aside.
Also mix 1 tablespoon cornstarch with 3 tablespoons water until cornstarch dissolves completely and set aside.
6- Heat sesame oil and avocado oil in wok on medium-high heat. Once oil is hot, add the ginger, garlic, celery and green chili. Saute for 1 minute.
7- Then add the quartered onion and peppers.
8- Cook for 2 minutes. Veggies should remain crunchy and you should cook on high heat.
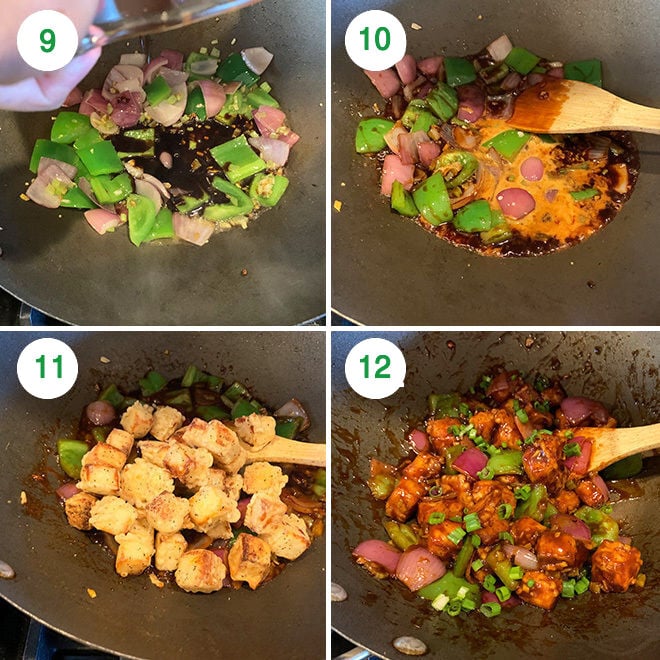
9- Add in the prepared sauce and mix and lower heat to medium.
10- Then add in the prepared cornstarch slurry. Mix well, sauce will begin to thicken. Add additional 3 to 4 tablespoons water.
11- Stir in the fried paneer cubes. Toss to combine the paneer with the sauce.
12- Turn off heat and garnish with green onions.
Serve Chilli Paneer with noodles or rice!
If you’ve tried this Chilli Paneer Recipe then don’t forget to rate the recipe! You can also follow me on Facebook, Instagram to see what’s latest in my kitchen!
This post has been updated from the recipe archives, first published in January 2016.
Chilli Paneer
Ingredients
For frying the paneer
- 250 grams paneer cut into cubes
- 3 tablespoons cornstarch
- 3 tablespoons all purpose flour
- 1/2 teaspoon salt
- 1/4 teaspoon black pepper ground
- water to make a free flowing batter, little less than 1/2 cup
- oil for frying, I used canola oil
Sauce
- 2 tablespoons soy sauce 30 ml, I used 1 tablespoon regular soy sauce and 1 tablespoon dark soy sauce
- 1 tablespoon rice vinegar 15 ml
- 3 teaspoons green chili sauce 15 ml
- 2 tablespoons tomato ketchup 30 ml
- 1/2 teaspoon sugar
Cornstarch slurry
- 3 tablespoons water
- 1 tablespoon cornstarch
Stir-Fry
- 1.5 tablespoons sesame oil 22 ml
- 1 tablespoon avocado oil 15 ml
- 1 tablespoon chopped ginger
- 1 tablespoon chopped garlic
- 1 stalk celery finely chopped
- 1 green chili sliced
- 1 medium red onion quartered and petals separated
- 1 green pepper cut into squares
- 3-4 tablespoons water
- green onions chopped, for garnishing
Instructions
- Cut paneer into cubes. To a large bowl, add 3 tablespoons cornstarch, 3 tablespoons flour along with salt, pepper.
- Add water to make a free flowing batter, it should neither be thick nor thin. I added little less than 1/2 cup water here. Meanwhile heat oil in a wok/kadai on medium heat to deep fry the paneer.
- Dip each paneer cube into the batter. And then add them into the hot oil.
- Fry until the paneer pieces get golden brown and crispy from both sides. Drain the fried paneer on paper towel.
- Meanwhile, in a measuring jar or bowl, add soy sauce (I use regular and dark soy sauce, 1 tablespoon each), rice vinegar, green chili sauce, tomato ketchup and sugar. Mix until all is well combined and set aside.Also mix 1 tablespoon cornstarch with 3 tablespoons water until cornstarch dissolves completely and set aside.
- Heat sesame oil and avocado oil in wok on high heat. Once oil is hot, add the ginger, garlic, celery and green chili. Saute for 1 minute.
- Then add the quartered onion and peppers. Cook for 2 minutes. Veggies should remain crunchy and you should cook on high heat.
- Add in the prepared sauce and mix and lower heat to medium.
- Then add in the prepared cornstarch slurry. Mix well, sauce will begin to thicken. Add additional 3 to 4 tablespoons water.
- Stir in the fried paneer cubes. Toss to combine the paneer with the sauce.Turn off heat and garnish with green onions.
- Serve Chilli Paneer with noodles or rice!
Notes
- You may pan fry the paneer cubes as well. Heat few tablespoons of oil in a pan and pan fry paneer until golden-brown from both sides.
- To make this recipe gluten-free, use rice flour in place of all purpose flour. Also use tamari (gluten-free soy sauce) in place of regular soy sauce.
Nutrition
Nutrition information is automatically calculated, so should only be used as an approximation.



Taste great! How long did you fry the paneer? Did you deep fry or pan fry? I deep fried (which I’m not use to bc I usually pan fry or air fry when needed) but it got very crunchy. It wasn’t as crunchy once it went into the sauce but if you could add approximate time for frying, that would be great to avoid over frying. Thanks!
it also depends on the paneer, some of the paneer that we get in the US becomes very rubbery and hard after frying. I hope you immersed it in warm water for 15-20 mins before using in the recipe