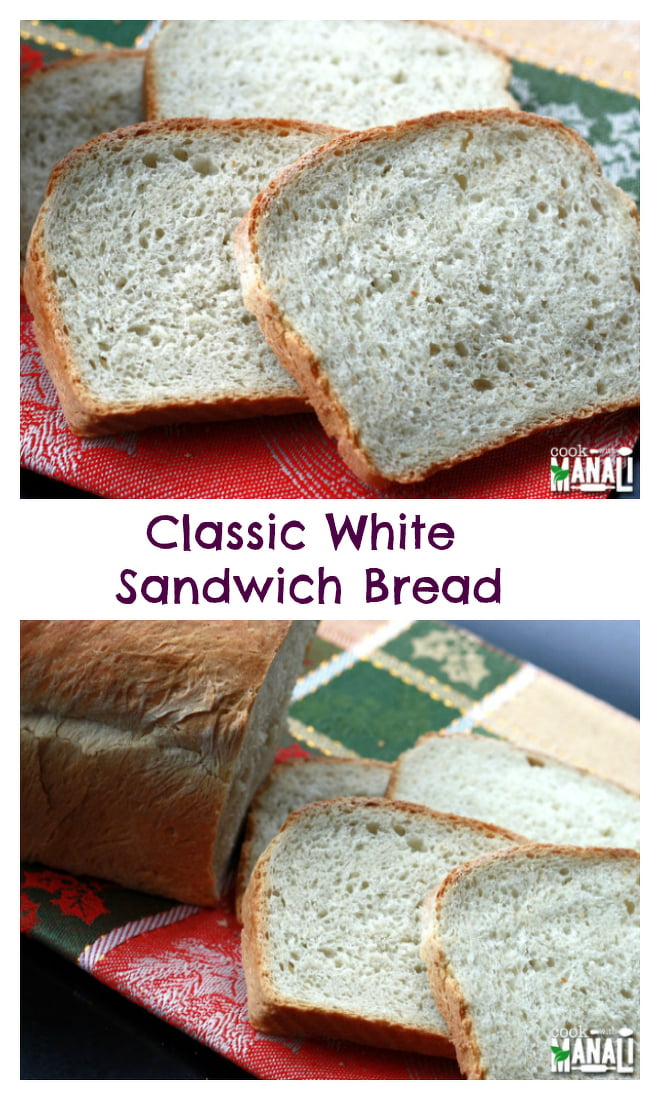
Classic White Bread
Homemade classic white bread! so good with butter or jam!
This post may contain affiliate links. Please read our disclosure policy.
I have been trying to make fresh bread at home for months. Every time I tried, something or the other went wrong. Sometimes the flour wasn’t correct and sometimes the yeast wasn’t perfect. But I was determined to make this perfectly one day and finally I succeeded in doing so! :- )
Making bread at home isn’t difficult but what I have learned through these trials and errors is that one needs to use a very good quality yeast. A good yeast is the most important ingredient if you wish to bake breads at home, it really is. Initially I used these store bought packets of active dry yeast for bread recipes, but it never gave good results. The dough never used to rise much and so I figured I need to look for another yeast.
And while searching on amazon, I came across this Instant Yeast and it really put and end to all my worries! The yeast is incredible and the bread came out to be just perfect. So now I would strongly suggest using instant yeast instead of dry active yeast. I didn’t even proof the yeast in warm water like we do with dry active yeast, instead I added it directly to the flour and then added warm water. So it gives great results and saves time too. Total win!
What I have also learned is that one must use bread flour to make breads. The bread flour has more gluten in it which gives the bread it’s stretchy and chewy texture. This does not mean that you can’t make bread using all purpose flour, of course you can but the result will be much better if bread flour is used.
So in a nutshell, this is what results in a good bread.
Instant yeast + Bread flour = Great Bread
I made the bread using my new Kitchen aid stand mixer, which I got as a birthday gift recently [Yay!!] and it really made things so easy. The dough hook works great in kneading the dough and putting the dough together only took a few minutes.
Method
1. In the stainless steel bowl of your stand mixer, add flour, salt, sugar and instant yeast. [If you are using active dry yeast, you will first need to proof it by taking warm water, adding sugar and yeast to it. Leave the mixture for 10 minutes till you seem foaming on top and then add it to the flour]
2. Add olive oil and turn on the stand mixture at speed 1 or 2 with flat beater attachment.
3. Start adding warm water into the mixture slowly. The dough will start coming together and once it has, it’s time to bring in the dough hook.
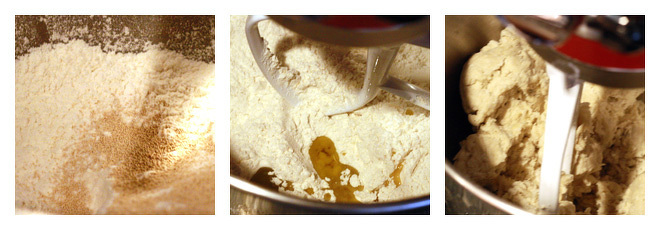
4. Remove the flat beater attachment from the stand mixer and replace it with the dough hook.
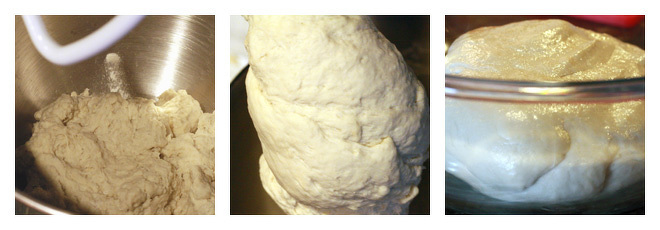
5. Switch on the mixer [speed 1 or 2] and let the dough hook knead the dough for 7-8 minutes till it looks smooth. In case you don’t have a stand mixer, you need to use your hands and knead it till it’s smooth and elastic.
The middle picture is in between the kneading process.
6. Place the dough in a glass bowl once it’s all smooth and apply some olive oil/butter on top.
7. Cover the dough with a cling sheet or cloth and place it in an enclosed space or in a warm place. I put my dough in the microwave.
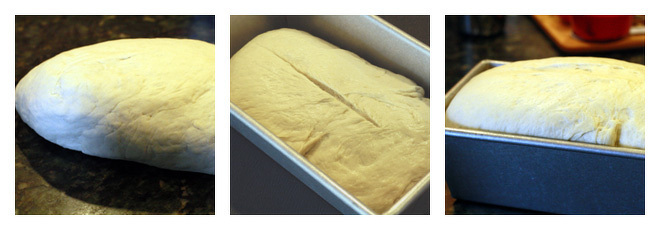
8. After around 1 t0 1.5 hours, the dough will rise and double in size. [Compare picture 7 & 8 below] This rising of dough can take different time depending on where you live. If you live in a very warm place, the dough will probably rise in 30 minutes else it can also take up to 1.5 hours.
9. After 1.5 hours, take the dough out and put it in the stand mixer again for 1-2 minutes [speed 1 or 2]. This basically flattens the dough so that the yeast can work again. You can do this by your hands too by punching the dough and kneading the dough for a minute.
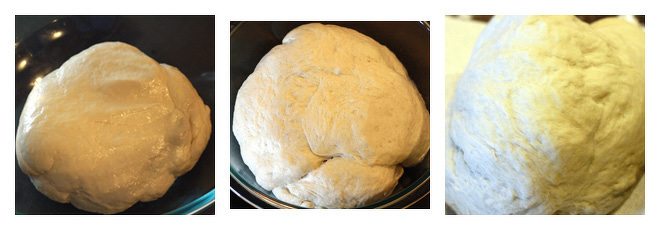
11. Put the dough in the loaf pan, apply some oil on top and let it rest for 20 minutes in a warm place. Preheat the oven to 375 F.
12. After 20 minutes, the dough would have risen for the second time.
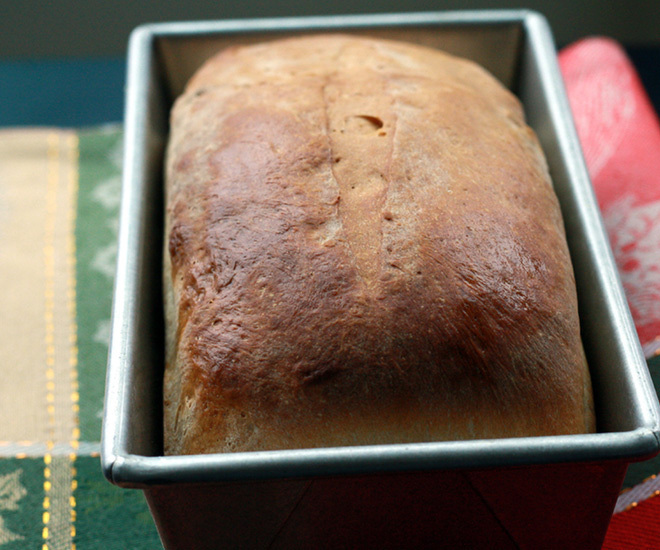
13. Take out the loaf and bake at 375 F for 35-40 minutes or until golden brown in color. You will know its done when you hear hollow sound when tapped on the bottom of the loaf.
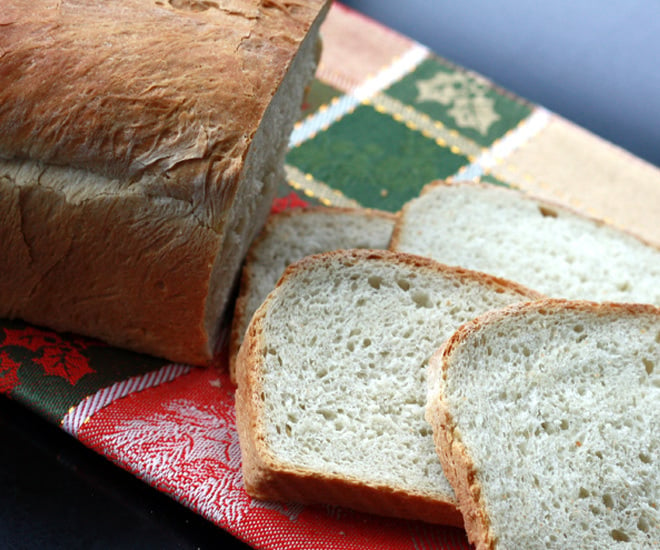
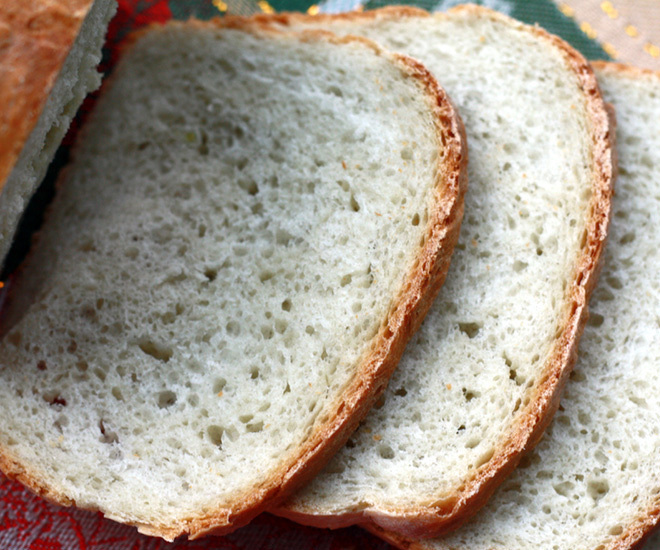
14. Let the bread loaf cool completely before cutting it into slices.
Tips
1. Must use a very good quality yeast, preferably instant yeast.
2. All purpose flour can be used but bread flour works a lot better in getting the texture right.
3. Rising and baking time may vary depending on where you live.
4. The loaf will stay fresh at room temperature for several days.
Classic White Bread
Ingredients
- 2.5 cups bread flour
- 1-1.25 cups warm water [temperature around 110 f]
- 1-2 tablespoons olive oil
- 1 teaspoon salt
- 1 tablespoon sugar
- 1/2 tablespoon instant yeast
Instructions
- In the stainless steel bowl of your stand mixer, add flour, salt, sugar and instant yeast.
- Add olive oil and turn on the stand mixture at speed 1 or 2 with flat beater attachment.
- Add warm water into the mixture till the dough starts coming together.
- Replace the flat beater with dough hook once the dough comes together and knead for 7-8 minutes at slow speed [1 or 2].
- Once the dough appears smooth, apply some oil on top and place it in a bowl. Keep the bowl in a warm place for 1-1.5 hours.
- The dough will double in size after 1.5 hours, take it out and punch it down to flatten it. Knead for a minute or two.
- Shape the bread loaf and put in the loaf pan.
- Apply some oil on top and keep it in a warm place for 20 minutes again. Preheat the oven to 375 F.
- The dough will rise for a second time after 20 minutes or so.
- Place the pan in the oven and bake at 375 F for 35-40 minutes.
- The bread will appear golden brown when done.
- Let the bread cool completely before cutting it into slices.
Nutrition
Nutrition information is automatically calculated, so should only be used as an approximation.
Classic White Bread





Hi Manali
Instead of bread flour, what can we add and how much ?
regular white flour, same amount should be ok
Hi Manali,
I made this classic white bread and the result is simply awesome. Thanks for the recipe. Can you please suggest or post a picture on how you store these bread once baked and sliced? Since there is no preservative in this bread how long can we keep it?
I want to make the brown bread and I don’t want to use egg. Can you please tell me a replacement?
Regards,
Shree
Hi Shree! Thanks for the feedback, glad it turned out well 🙂 Lol you won’t believe but I’m been trying to find the perfect way to store homemade breads too. Since there’s no preservative they do dry out pretty quickly. Your best bet is to wrap it up tightly with a cling sheet and then place in a ziplock bag. Some people recommend freezing the bread but I have never done it so can’t comment on that. I am really sorry I can’t be of much help here, once I find the perfect way I will definitely share till then try this way.
For the brown bread, just skip the egg and follow the rest of the recipe as it is. I think it should work!