Homemade Burger Buns
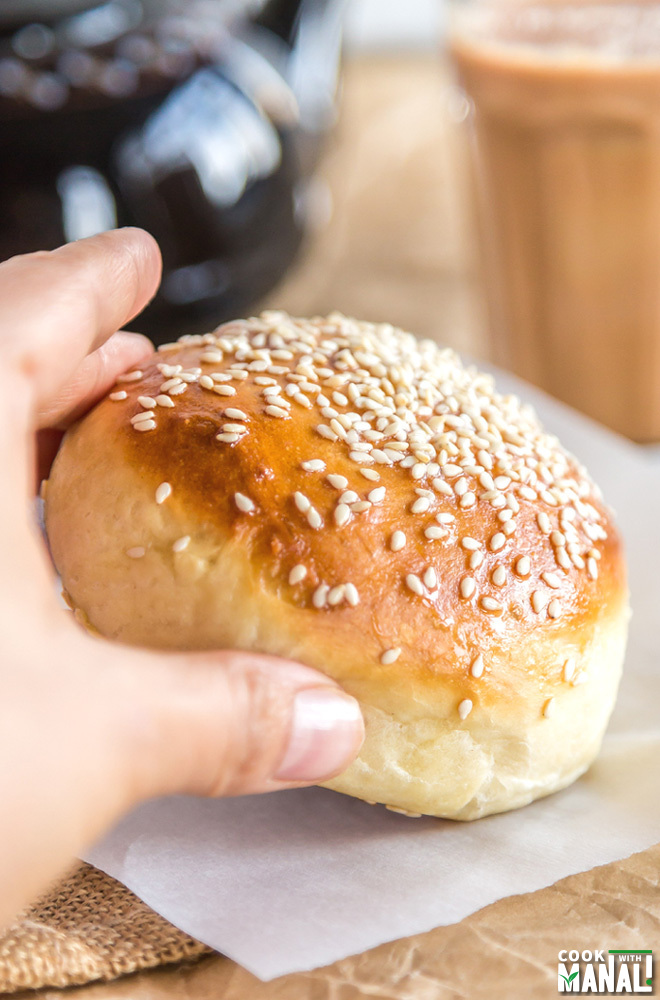
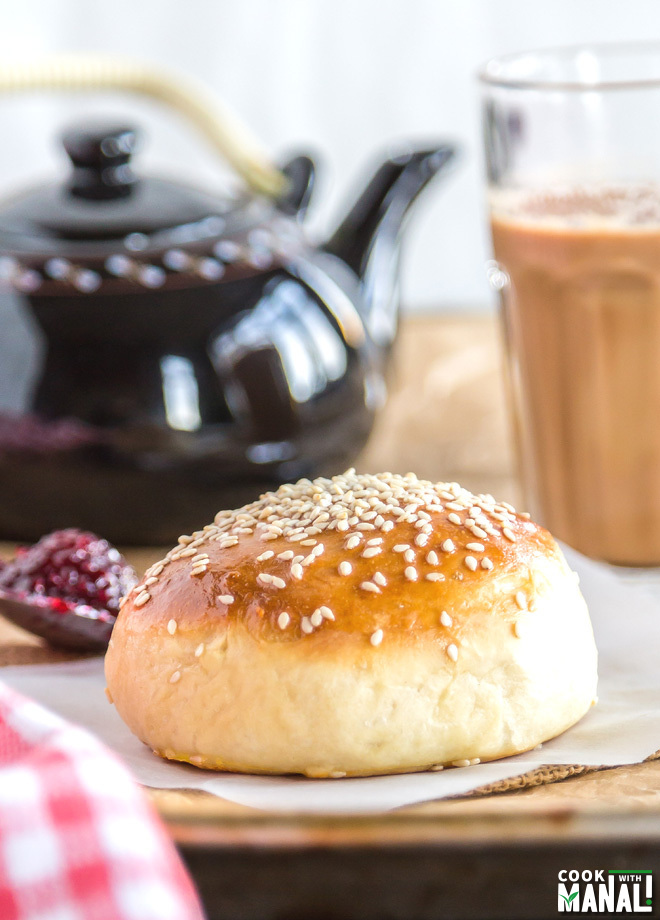
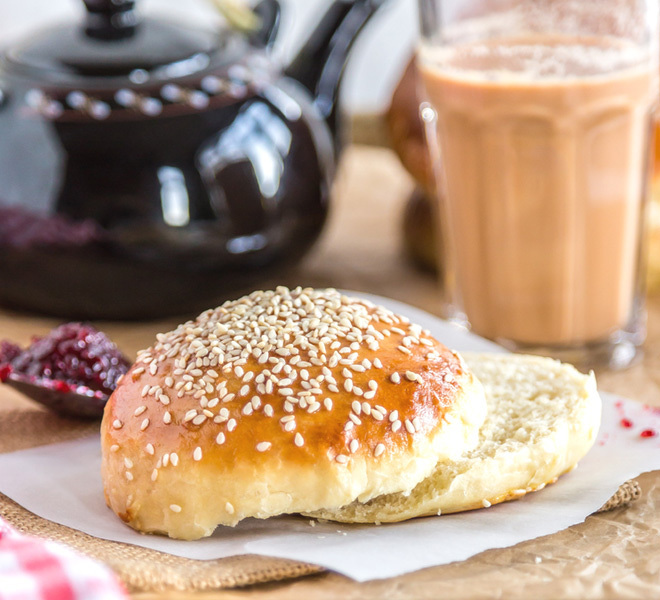
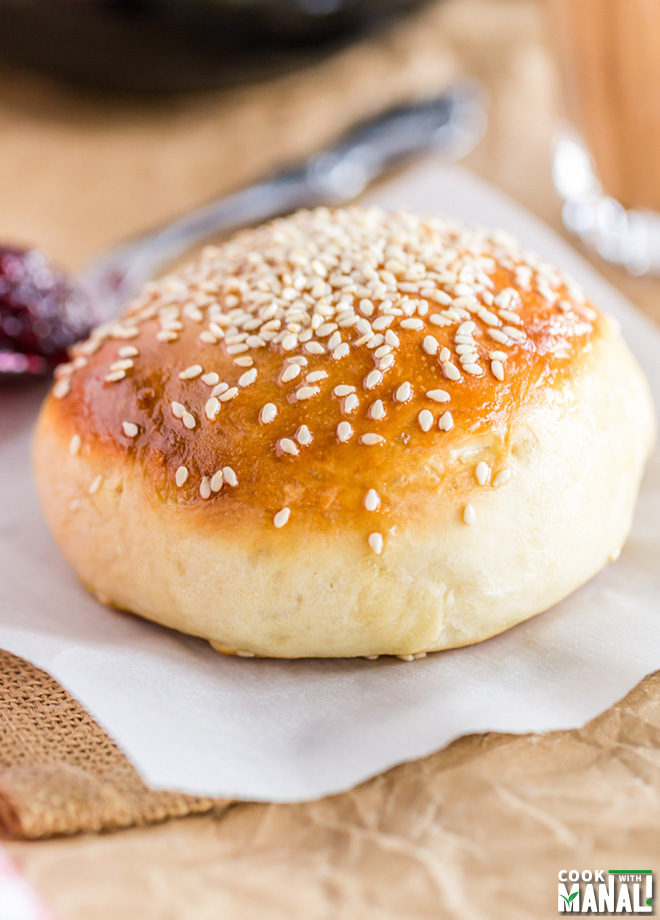
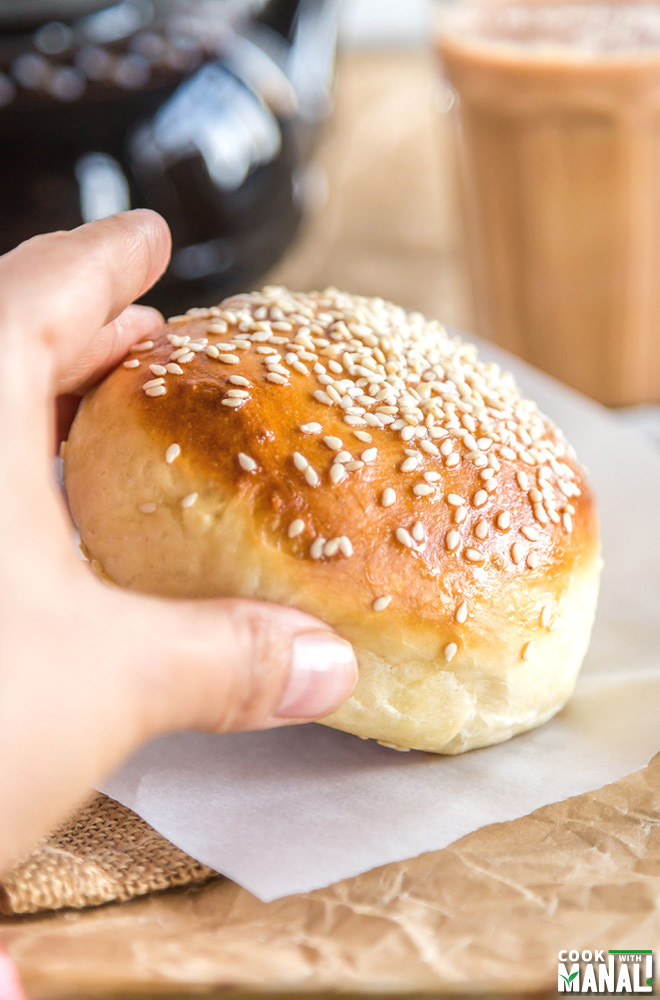
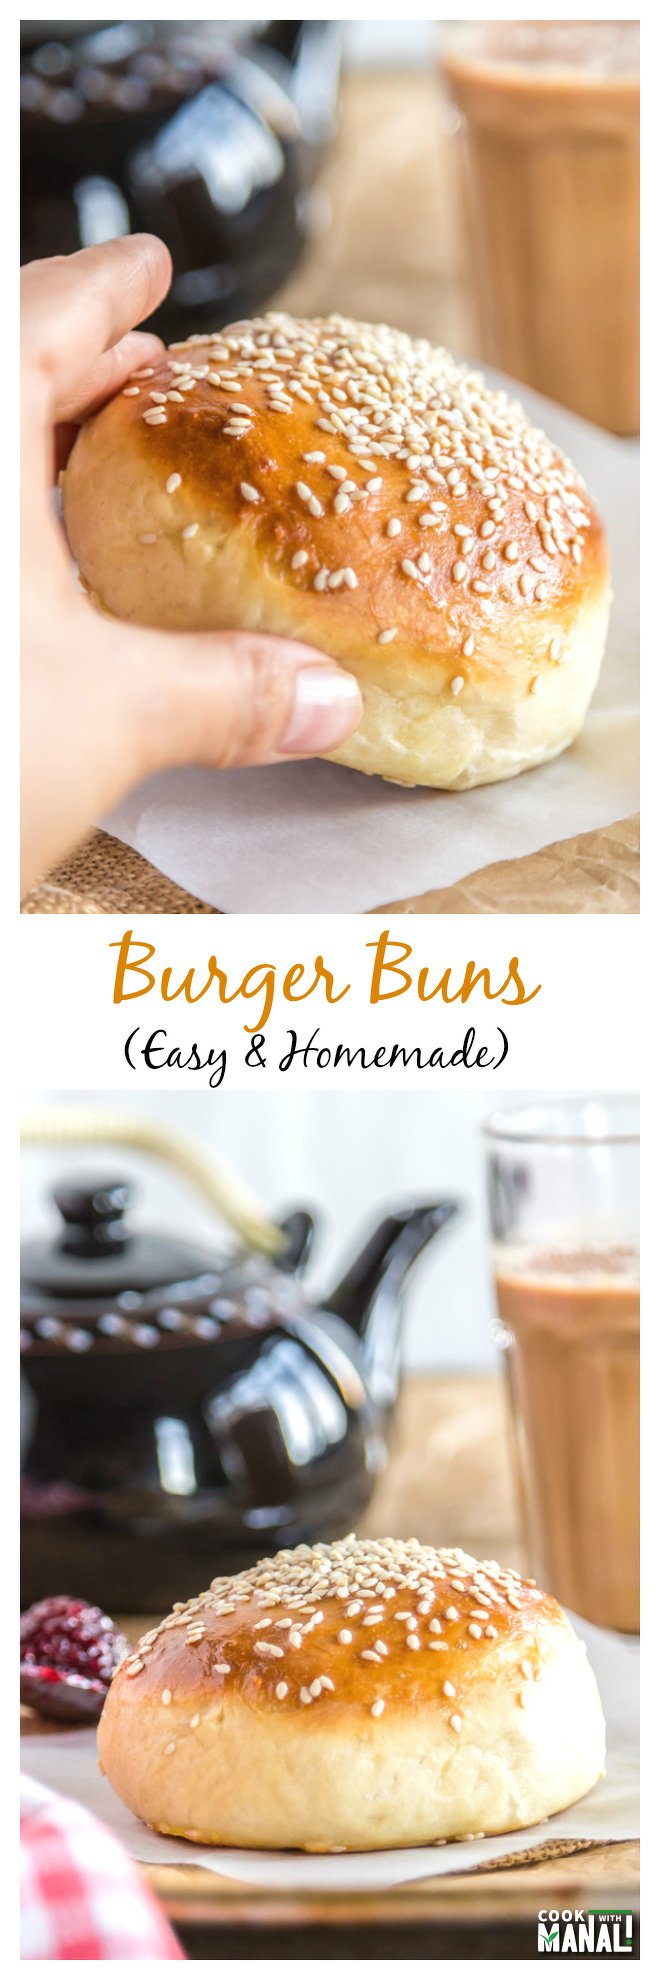
Soft and light homemade burger buns are so much better than store bought. Use them in any burger recipe or simply enjoy them with some warm jam and honey!
This post may contain affiliate links. Please read our disclosure policy.
Soft and light homemade burger buns are so much better than store bought. Use them in any burger recipe or simply enjoy them with some warm jam and honey!
Few years back when I discovered my love for baking, I thought I could be a great cake decorator too. You know all those fancy cakes attracted me and so I enrolled myself into cake decorating classes. I took 12 of those classes in the next 2 years and by the end of it I realized “this is not me”. I mean I like decorating cake and can do a pretty decent job but all those amazing cakes that people make – neither I have the talent nor the patience to make them. And it is then that I realized that I am a baker and not a cake decorator and it’s fine to be only one of these. I stare in amazement at all the pretty fondant cakes that people make however they don’t excite me. What makes me super happy is the aroma of freshly baked bread, the thought of warm cinnamon rolls out of the oven, baking french macarons and so on. I love baking breads at home, there’s something so amazing about homemade breads, it’s unmatched. And so if you love fresh bread as much as I do, then you will love by homemade burger buns. They are so perfect guys, if I say so myself!
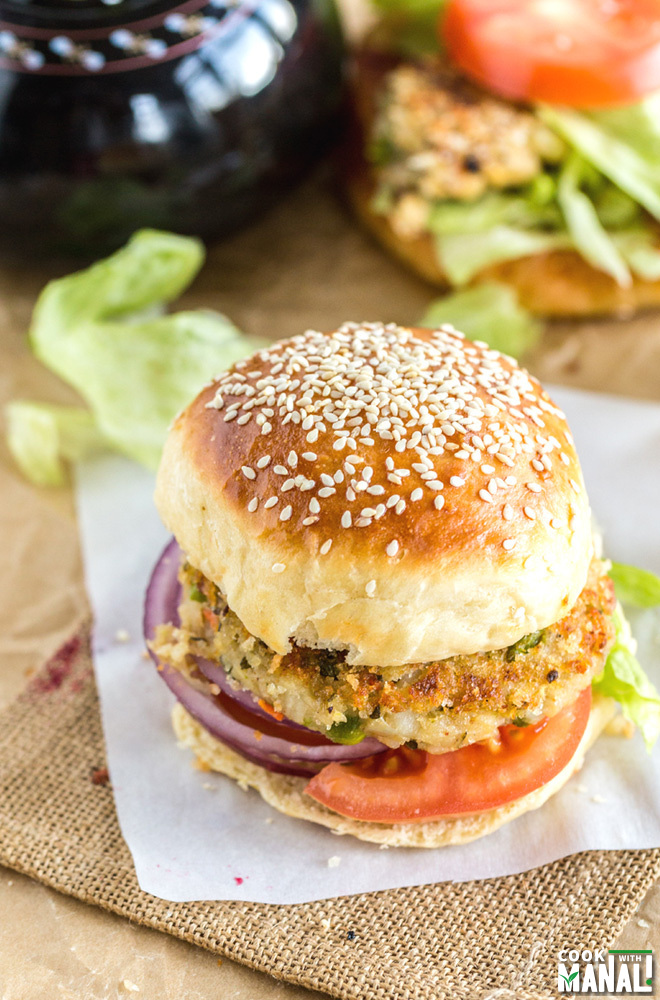
For the last few weeks, I have been having this crazy urge to eat burgers, not any burger but Indian style burgers. We do have a small restaurant in Seattle where you can get those spicy Indian burgers however this time I wanted to make them at home, in my own style. But before I could make the burgers, I obviously needed the buns and considering how much I love my yeast, I decided to make the buns at home. And they turned out so perfect that I swear I have not eaten better tasting buns before. I ate way too many when they were fresh out of the oven. I mean fresh warm bread out of the oven drizzled with some honey on top is heaven. You have to try it to believe!
Okay making burger buns at home is not difficult but you need to be careful about few things. Like always use a good quality yeast, it really makes all the difference. My go to brand is Red Star. Second this dough will be little sticky and difficult to handle and you will be tempted to add more flour BUT do not add any extra flour than required! Start with 3 cups of flour and then add 1/4 cup at a time and add only till the dough just starts coming together. It will still be shaggy and sticky (not overly sticky but sticky) and that is okay, you want it to be that way. If you add more flour, your buns will be dense and you don’t want that. These buns are very light and fluffy (brioche type) and for that you need to add just the right amount of flour.
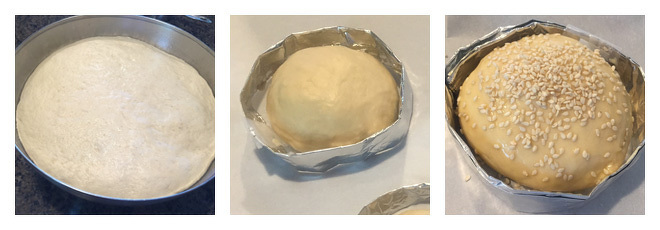
I also used these aluminium rings for few of the buns during the 2nd rise, this was because I wanted the burger buns to rise vertically. Here’s a very good step-by-step instruction which you can follow to make these baking molds – HOW TO MAKE BAKING MOLDS USING TINFOIL . This is of course optional, you would be fine with these too. [PS: I did not follow the instructions there and just made some random rings]
Be patient, you will need to “knead” the dough for quite a bit for it to come together. I recommend using the dough hook of your stand mixer to knead these. Don’t get impatient and add more dough than required. And at the end of it all, you will be rewarded with these amazing burger buns, which would be perfect for any burger, just like for my aloo tikki burger
Method
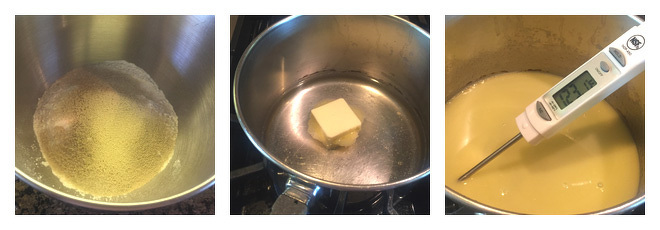
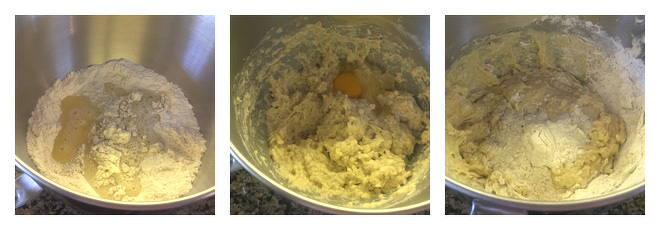
In the steel bowl of your stand mixer , mix together 3 cups flour, salt, sugar and instant yeast. Set aside.
In a pan warm together water and butter till the butter melts.
Let the mixture cool down a bit for 6-7 minutes or till it reaches around 120-125 F degrees.
Add the cooled water-butter mixture now to the flour mixture and mix.
Add the whisked egg and mix.
Start adding the remaining flour little by little, 1/4 cup at a time. Stop adding the flour, when the dough just starts coming together from the sides. You may nor may not need all the flour. Do not add more flour than required. The dough will be little sticky and shaggy. That is okay.
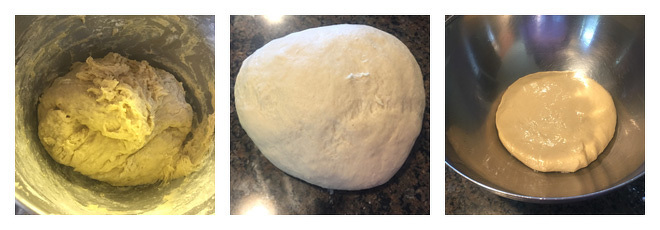
Knead on medium-low speed for around 10 minutes using the dough hook attachment of your stand mixer.
The dough will be really soft and little sticky but after you have kneaded it well, it will look totally smooth as you can see in the middle picture.
Transfer this dough to a oiled bowl, cover with a kitchen towel and keep at a warm place for 1-2 hours or until double in size. If it’s really cold when you are making these buns, preheat oven to 200 F degrees and then switch if off. Place the dough inside the oven (with the oven being off) and let it rise there.
After the dough has risen, punch it down to release the air.
Divide it into 10 equal portions. You can use a kitchen scale to make sure all dough balls are equal. Roll each dough portion into a ball and place on baking sheet , around 3 inches apart. I also used an aluminium ring for few of the dough balls so that they rise vertically. This is optional. Once you have made all the dough balls, cover with a kitchen towel and let them rise for an hour or till almost doubled in size. Meanwhile preheat oven to 400 F degrees.
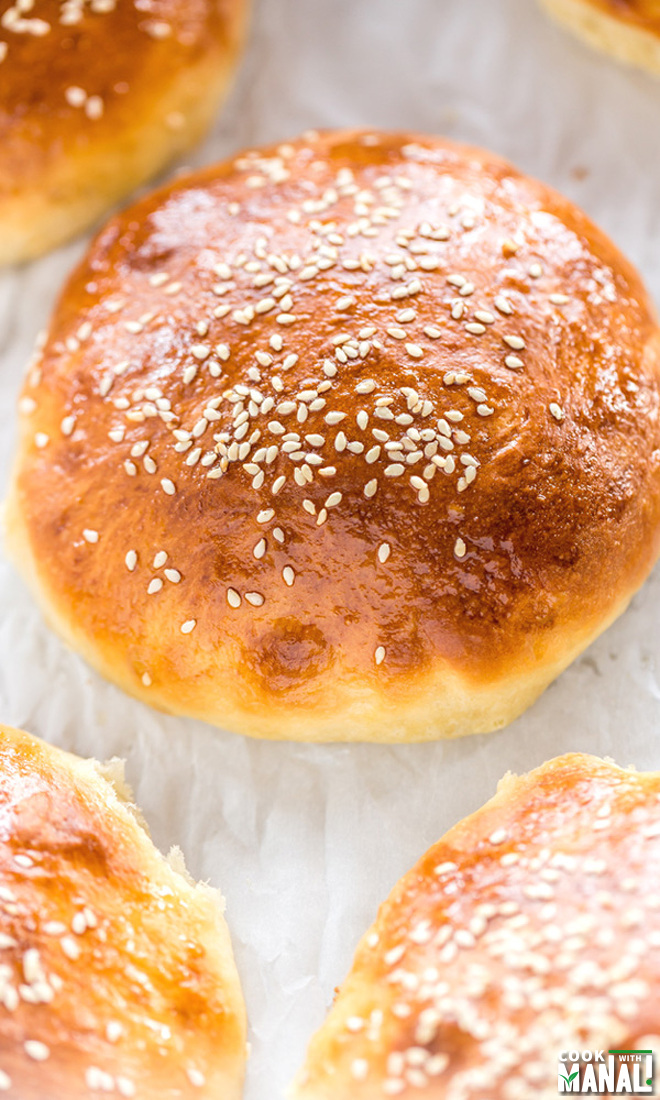
Once the dough balls have risen, brush each with egg wash, sprinkle sesame seeds on top and bake at 400 F degrees for 12 minutes, rotating once in the middle. The tops of the buns will appear golden brown when done.
Remove from oven, brush them immediately with melted butter. Transfer onto a wire rack to cool completely.
* Use a good quality yeast. If you do not have instant yeast, you can use active dry yeast. Use the same quantity as instant yeast however activate it using warm first first. Add 1/2-1 teaspoon sugar in warm water, sprinkle active dry yeast and let it proof for 10 minutes. You will know the yeast is active when the mixture bubbles up.
* It’s okay if you don’t have a kitchen thermometer to check the water temperature. Just make sure the water is warm, it shouldn’t be super hot. My golden rule – put your finger inside water, if you have to remove it with in few seconds (because of the water being too hot), then the water is TOO HOT, it’s not going to work for your recipe. When you can put in your finger and it still feels warm but good enough to handle that’s the right temperature.
* You can make smaller buns and that way you will get more buns out of this dough.
* Do not add more flour than required. Stop when you see the dough leaving the sides, I used around 3 3/4 cups [3.75] of flour.
* Store these homemade burger buns in an airtight container. Or you can also cling wrap them tightly.
Homemade Burger Buns
Ingredients
- 3.5 - 4 cups all purpose flour [you may or may not need all of it I used around 3 3/4 cups]
- 1.25 cups water
- 2.5 tablespoons unsalted butter
- 3 tablespoons granulated white sugar
- 3 teaspoons instant yeast
- 1.25 teaspoon salt
- 1 large egg
topping
- 1 large egg mixed with 2 tablespoons of water for egg wash
- sesame seeds
- 2 tablespoons unsalted butter to brush on top
Instructions
- In the steel bowl of your stand mixer , mix together 3 cups flour, salt, sugar and instant yeast. Set aside.
- In a pan warm together water and butter till the butter melts.
- Let the mixture cool down a bit for 6-7 minutes or till it reaches around 120-125 F degrees.
- Add the cooled water-butter mixture now to the flour mixture and mix. Add the whisked egg and mix.
- Start adding the remaining flour little by little, 1/4 cup at a time. Stop adding the flour, when the dough just starts coming together from the sides. You may nor may not need all the flour. Do not add more flour than required. The dough will be little sticky and shaggy. That is okay.
- Knead on medium-low speed for around 10 minutes using the dough hook attachment of your stand mixer.
- The dough will be really soft and little sticky but after you have kneaded it well, it will look totally smooth as you can see in the picture above.
- Transfer this dough to a oiled bowl, cover with a kitchen towel and keep at a warm place for 1-2 hours or until double in size. If it's really cold when you are making these buns, preheat oven to 200 F degrees and then switch if off. Place the dough inside the oven (with the oven being off) and let it rise there.
- After the dough has risen, punch it down to release the air.
- Divide it into 10 equal portions. You can use a kitchen scale to make sure all dough balls are equal. Roll each dough portion into a ball and place on baking sheet , around 3 inches apart. I also used an aluminium ring for few of the dough balls so that they rise vertically. This is optional.
- Once you have made all the dough balls, cover with a kitchen towel and let them rise for an hour or till almost doubled in size. Meanwhile preheat oven to 400 F degrees.
- Once the dough balls have risen, brush each with egg wash, sprinkle sesame seeds on top.
- Bake at 400 F degrees for 12 minutes, rotating once in the middle. The tops of the buns will appear golden brown when done.
- Remove from oven, brush them immediately with melted butter. Transfer onto a wire rack to cool completely.
Nutrition
Nutrition information is automatically calculated, so should only be used as an approximation.
Homemade Burger Buns



Hi can you please tell me if you are using 240ml cup or 200??
US standard size cups 1 cup= 240 ml/8 oz
Greetings Manali, if I’m using active dry yeast instead of instant would I use additional sugar to activate the yeast or use what’s already in the recipe? Thank you!
you would straight away use in the recipe
Hi Manali, I love burgers too, can you share recipe of whole wheat eggless buns. Would love to try those as I am vegetarian
will try
Hi Manali, neat explanation and burger buns look awesome. I’ve the same question as Anitha, replacement for egg please? I’m a vegetarian by choice and would love to try this recipe
I will try and post an eggpless burger bun, for this recipe I really can’t say about an egg replacement until I have tried myself
Nice and easy recipe surely will give it a try!!!!
I too love baking, simply thinking to take up a course. Well, keep it going with these mouth-watering dishes. Burger is very versatile dish.
I have touch oven I can’t pre heat it then for how many minutes I should bake ? PLEASE Help
I don’t know what a touch oven is? you need to pre-heat, can’t bake in a cold oven.
Tried this receipe. The buns are super soft. Loved it!!
Thanks for sharing.
welcome!
Hey Manali,
Easy recipe.
But have a question.
Can I make a dough in bread maker?
yes!
Hey Manali..browsed through multiple recipes..and had to stop by yours..tried it..its simply awesome..im going to keep this as my “go to burger recipe”! thanks a ton:)
I am glad to hear that Priya! 🙂 You are welcome!
I made them today and they was awsome. One question, can you freez them?
Hi Stefanie! I don’t know how I missed your post! Sorry! Yes I think they should freeze well. I am glad you liked them!
Hi Manali,
I was just browsing through recipes simply to kill time in office 😀 and stumbled into ur site… Now I don’t remember for which recipe did i come in (I’ve gone through too many of ur recipes to remember) but you are doing an amazing job!!!!!!!!! I love to experiment a lot in my kitchen and usually turn up edible 😛 except breads 🙁 no luck with them so far yet but i guess it is bcoz i add more flour as mentioned in ur reciepe… going to try this weekend as per your suggestion 🙂
Can you please post an eggless burger buns as well??? Though i’m a non-vegeterain , I can’t stand eggs in my baking also Most of frnds are vegetarians… It wud be really helpful as I’m craving Indian burger too these days but don’t want to buy store bought buns 🙁
Thanks!!!
Hello Anitha! Thanks for dropping by and for your kind words 🙂 I will definitely try and post an eggless burger bun recipe , till then you can try the pav recipe, it’s eggless – https://www.cookwithmanali.com/homemade-pav/ ! And hopefully you will make the perfect bread very soon, just keep trying! 🙂 Use a good quality yeast, that’s most important tip , make sure your yeast is fresh and then water temperature is extremely important too. Hope that helps!
Hi Manali,
Thanks for your reply.. will definitely try and let you know how it turned out.
Currently as we are moving house there is no scope for baking but will definitely give it a try in next 2 weeks 🙂
Cheers!!!
thank you for this recipe .. the idea of baking buns using an aluminum ring is helpful to have high buns ( not flattery ) I will try making buns as soon as possible..
Welcome Suad! Hope you like these!
Thanks Padma 🙂 They were very soft!
Thank you Medha!
yay for making breads, it’s the best!! Thanks Cheyanne!
You are too kind Mira! thank you 🙂 Totally I have also realized that baking and cooking is so much better!
haha yeah me neither! I have so much patience when I am baking but decorating it another story! Thank you Jen!
You definitely should 🙂 Thanks Dannii!
Thank you Mir 🙂 haha cake decorating isn’t my cup of tea either!
Thank you Alice! 🙂
Thanks Anu!
Thank you Kathy! Yes I decorate cakes only for my family too 🙂
Homemade recipes are always the best. Burger buns are simply awesome Manali. Keep it up… 🙂
Thanks Puja!
Manali, you’re a great baker! These buns look just great. Simply looking at them makes my mouth water. I love baking too, but my buns never come out that perfect. Will try your recipe and procedure next time, I suppose that my mistake is adding just a bit too much flour. Never realized that before, but your explanation makes sense.
Thank you so much!:) I hope you try these!
I think I need to make these right now! Making bread and buns is so fun, and these are gorgeous. And I love that tip with the rings!
Totally! Thanks Amanda 🙂
Wow – these are so perfect and golden, and I can tell how soft and delicious they are right from your beautiful pictures. I’m tempted…
Thanks Kate, they came out amazing!