Rice Kheer (Indian Rice Pudding)
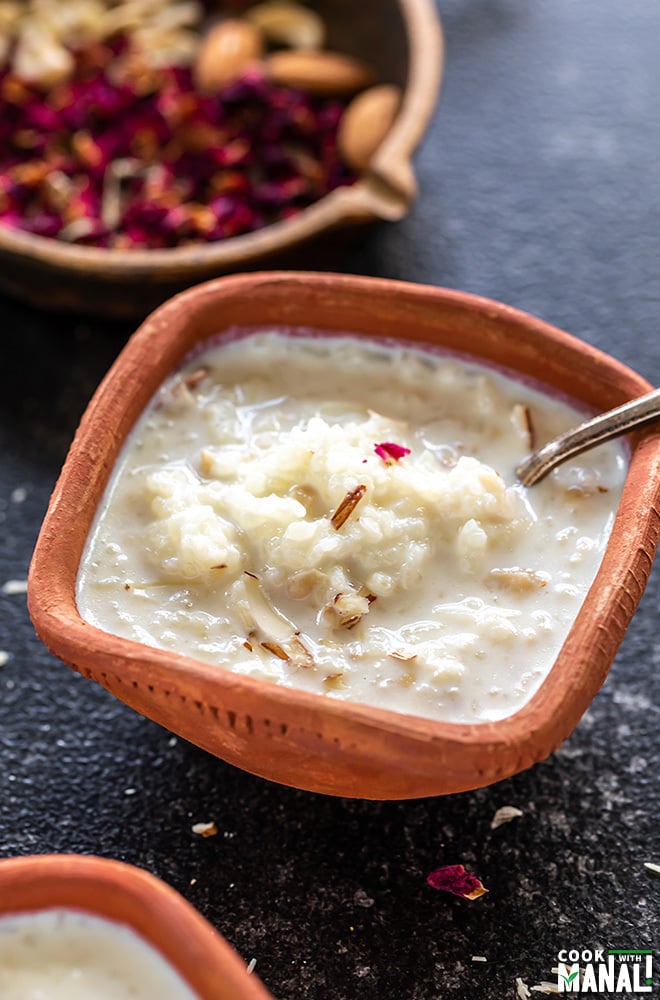
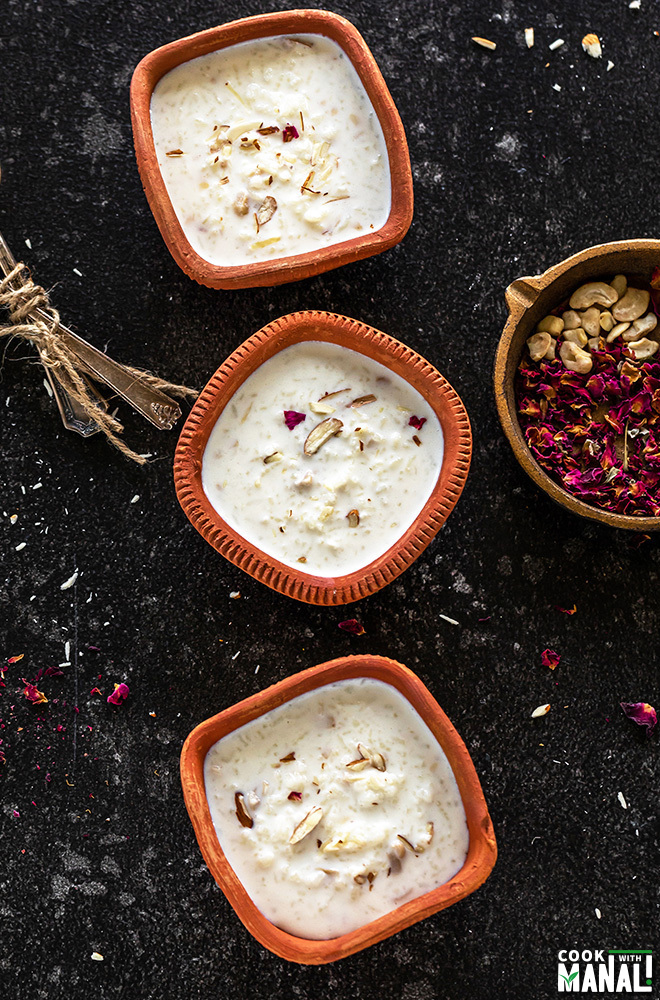
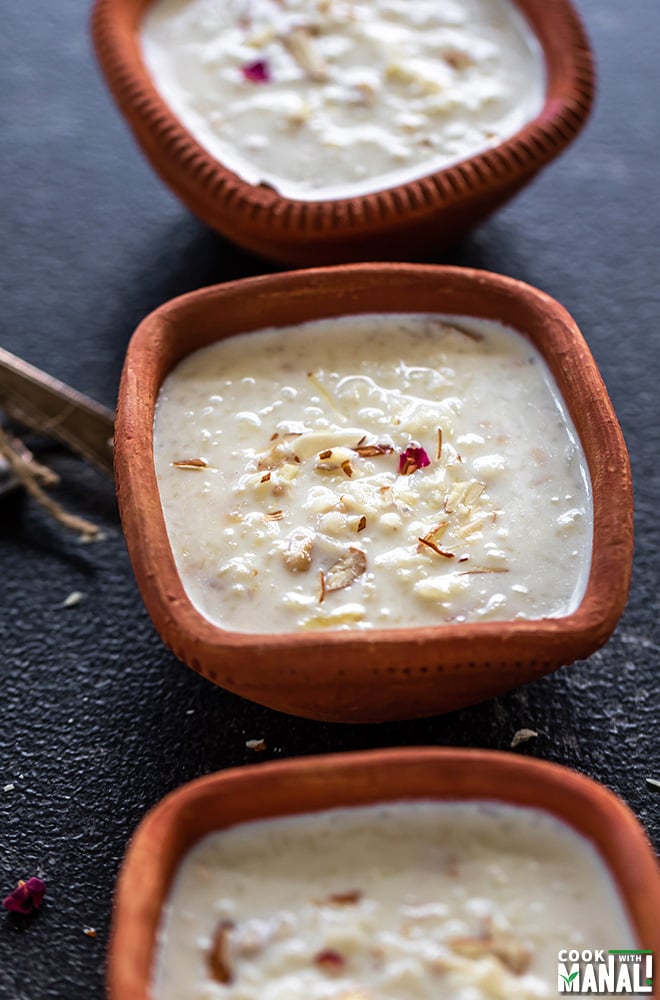
Classic Indian Rice pudding made with rice, sugar, milk and flavored with cardamom, nuts and touch of rose water. This creamy pudding is one of the most popular Indian desserts!
This post may contain affiliate links. Please read our disclosure policy.
Creamy and aromatic Rice Kheer aka Indian Rice Pudding is made with basic ingredients, and is the quintessential Indian dessert that every Indian grows up eating.
Flavored with cardamom, nuts & rose water, it’s the best way to finish off an Indian meal.
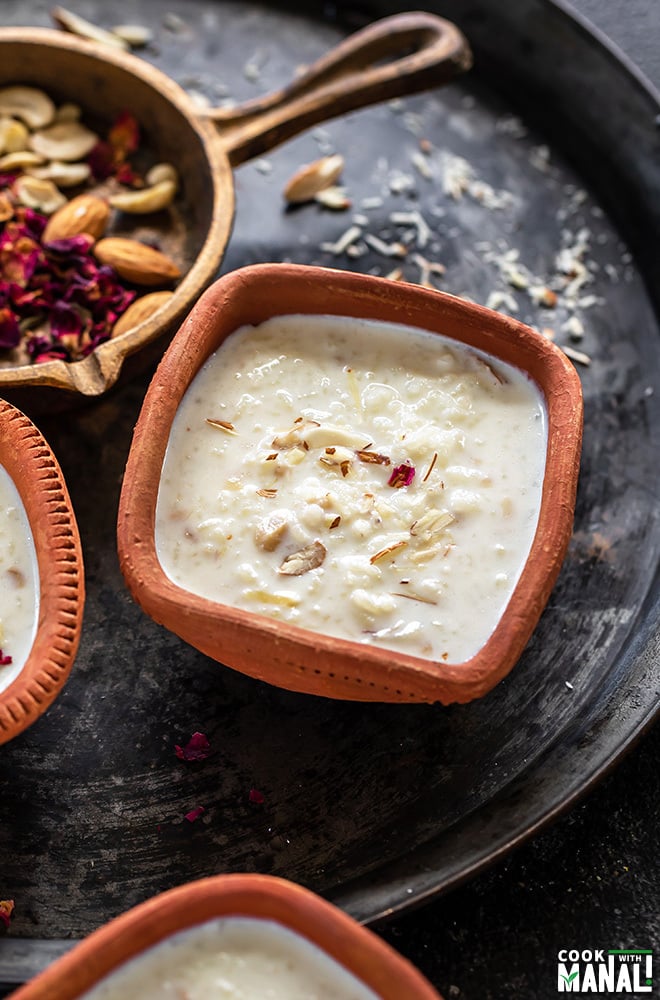
I can’t believe it took me so long to share a basic rice kheer recipe on the blog.
Kheer, a rice pudding is probably the most common dessert that’s made in every Indian household.
It’s one dessert that I grew up eating on a regular basis. Whenever there would be a celebration or a festival or just because we felt like eating a dessert, kheer was what mom always made.
What is Kheer
Kheer is Indian rice pudding made with only three basic ingredients- rice, milk and sugar. And I think that’s the reason it is so commonly made in India because the basic ingredients are so readily available everywhere.
My recipe calls for more than 3 ingredients but those are all optional and add ons. A simple rice kheer that my mom made was always made with only rice, sugar and milk.
In India when we use the word kheer, we are usually referring to the kheer made with rice.
However kheer can be made with other things as well like tapioca pearls, carrot, almonds etc. I love all variations but if you are looking for a classic Indian dessert, then it doesn’t get better or more authentic that a bowl of rice kheer or chawal ki kheer as we would call in Hindi.
I always prefer using whole milk to make my rice kheer, it makes the kheer more rich and creamy and I highly recommend the same.
Flavoring the Kheer
Like I said, you can make the kheer without any flavor with just the 3 basic ingredients. However, few spices and flavors are often added to the kheer to make it even more delicious!
Cardamom: of course the most common and my favorite. I never make my kheer without it.
Rose Water: a splash of rose water goes a long way in giving the kheer that flowery aroma.
Saffron: this was not used commonly in my home. But if you are making kheer for a special occasion then you can add some strands of saffron. Will give it a nice color and aroma.
Nuts: I personally love nuts in my kheer. I usually add cashews, almonds. I like raisins too but Sarvesh isn’t a fan so I don’t usually add them.
Kewra essence: is an extract distilled from pandanus flowers and used to flavor lot of Indian dishes and desserts. I add it sometimes but completely optional.
Serving Suggestions for Kheer
So should you serve the kheer warm or chilled?
The good news is that you can serve it either way, it’s just a personal preference.
Personally, I have always loved chilled kheer. I remember whenever mom would have kheer, I would take out my portion in a bowl and place it in the freezer to chill.
I always eat my kheer chilled.
On the other hand, many people I know prefer eating it hot straight out of the pan.
Either way, rice kheer is delicious and an easy dessert which you can make quickly with minimal ingredients.
Can you Make Kheer Vegan?
Yes, definitely!
Just swap the regular milk with almond milk and it would taste just as good.
In fact I have a recipe for kheer made with almond milk here.
Also to keep the recipe vegan, skip the step of roasting the rice with ghee in the beginning.
Next time you cook an Indian meal, make sure to finish it off with this lovely kheer. You taste buds will definitely thank you!
Method
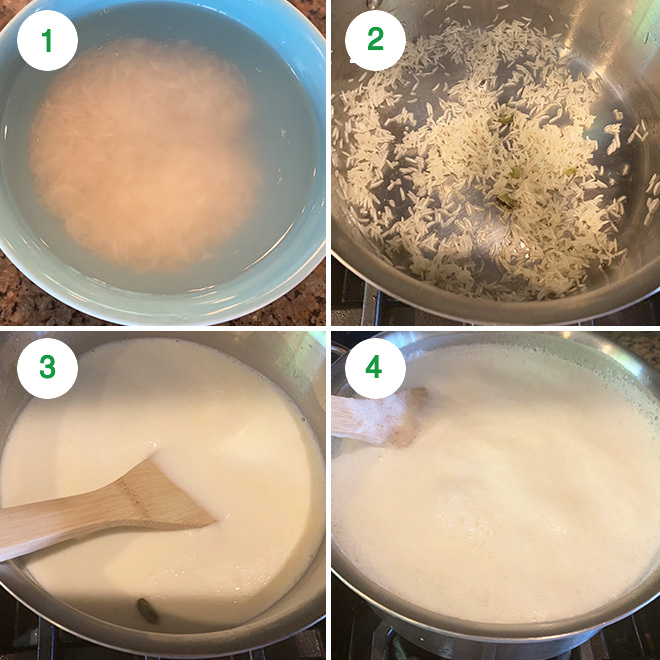
1- Rinse the rice until water turns clear. Then soak the rice in enough water for 20 to 30 minutes. Once soaked for around 20 minutes, drain the rice using a colander and set aside.
I used basmati rice here, you can use any other rice as well.
2- Heat a heavy bottom pan on medium heat. Then add 1 teaspoon of ghee to it and then add the soaked & drained rice. Also add 3-4 crushed green cardamom pods.
Toss the rice with the ghee and cardamom for 1 to 2 minutes, stirring constantly until aromatic.
3- Then add the milk to the pan and stir well. Set heat to medium-high.
4- Let the milk come to a boil, this will take around 10-12 minutes. Stir in between so that milk doesn’t stuck to the bottom of the pan.
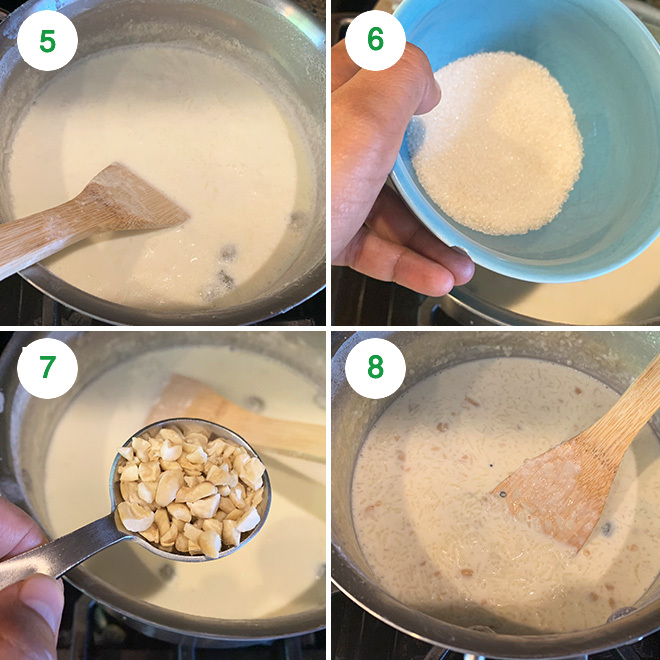
5- Once the milk has come to a boil, lower the heat to low and let the kheer cook for around 25 minutes on low heat. Stir every 2 minutes or so.
The milk will reduce considerably after 25 minutes and the kheer would look thick and the rice will be completely cooked.
If you want super thick kheer, cook for 15 more minutes at this point.
6- Add in the sugar and mix.
7- Also add in the nuts. I used cashews and almonds.
8- Cook the kheer for 5 more minutes after adding the sugar and nuts. The sugar should dissolve completely. Don’t worry if your kheer doesn’t look very thick at this point.
It will continue to thicken as it cools down.
Remove pan from heat. Stir in rose water (if using). Garnish with more nuts and serve kheer warm or chilled.
I let my kheer chill for 4 to 5 hours before serving.
If you’ve tried this Rice Kheer Recipe then don’t forget to rate the recipe! You can also follow me on Facebook, Instagram to see what’s latest in my kitchen!
This post has been updated from the recipe archives, first published in 2017.
Rice Kheer
Ingredients
- 1/4 cup rice 50 grams, I used basmati rice or use 1/3 cup for a thicker kheer
- 1 teaspoon ghee also known as clarified butter
- 3-4 green cardamom pods slightly crushed
- 1 liter whole milk
- 4-5 tablespoons sugar 50-62.5 grams, adjust to taste
- 3 tablespoons chopped nuts I used chopped cashews & almonds
- 1.5 teaspoons rose water optional
Instructions
- Rinse the rice until water turns clear. Then soak the rice in enough water for 20 to 30 minutes. Once 30 minutes are up, drain the rice using a colander and set aside.
- Heat a heavy bottom pan on medium heat. Then add 1 teaspoon of ghee to it and then add the soaked & drained rice. Also add 3-4 crushed green cardamom pods.
- Toss the rice with the ghee and cardamom for 1 to 2 minutes, stirring constantly until aromatic.
- Then add the milk to the pan and stir well. Set heat to medium-high.
- Let the milk come to a boil, this will take around 10-12 minutes. Stir in between so that milk doesn't stuck to the bottom of the pan.
- Once the milk has come to a boil, lower the heat to low and let the kheer cook for around 25 minutes on low heat. Stir every 2 minutes or so. The milk will reduce considerably after 25 minutes and the kheer would look thick and the rice will be completely cooked. If you want super thick kheer, cook for 15 more minutes at this point.
- Add in the sugar and mix. Also add in the nuts.
- Cook the kheer for 5 more minutes after adding the sugar and nuts. The sugar should dissolve completely. Don't worry if your kheer doesn't look very thick at this point. It will continue to thicken as it cools down.
- Remove pan from heat. Stir in rose water (if using). Garnish with more nuts and serve kheer warm or chilled. I love mine chilled and serve it after chilling it in the refrigerator for 4 to 5 hours.
Notes
- Use whole milk to make the kheer. It makes it so much creamier.
- You can flavor the kheer with saffron. For that, crush saffron strands and add to 1-2 tablespoons of warm milk. Once you see a nice yellow color, add it to the milk after the kheer has cooked for around 20-25 minutes.
Nutrition
Nutrition information is automatically calculated, so should only be used as an approximation.
