Sandesh – Bengali Sweet
Famous Bengali sweet, Sandesh is made with only milk and sugar! Lightly flavored with cardamom, this is an easy sweet to make during the festive season!
This post may contain affiliate links. Please read our disclosure policy.
Popular Bengali Sweet, Sandesh is made with only 2 basic ingredients! Make this simple sweet at your home during this festive season!
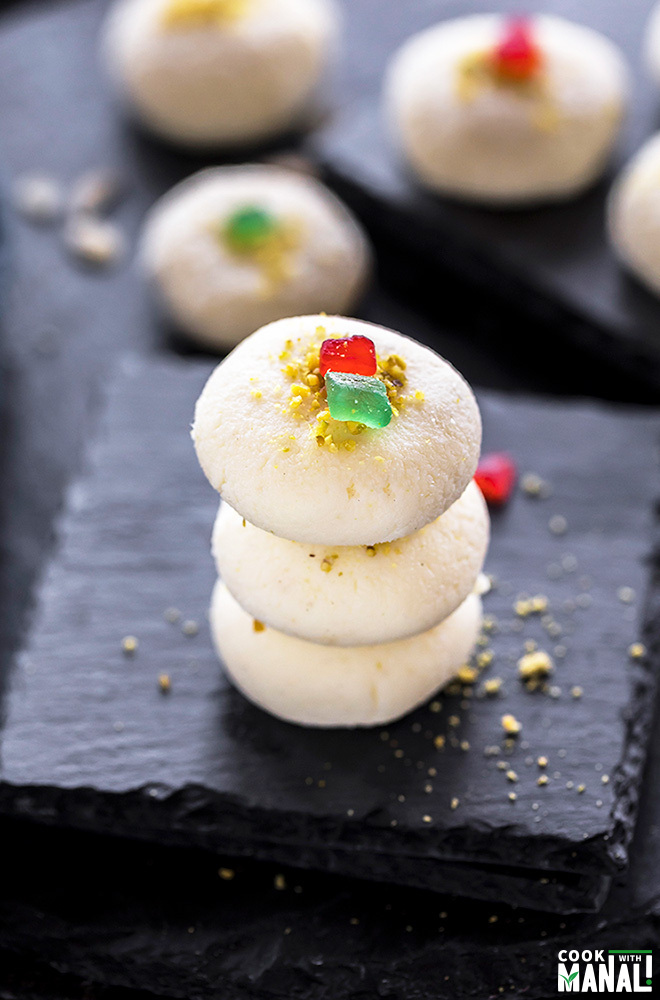
Sweets and Bengal go hand in hand! So many of the wonderful Indian sweets have their origin from Bengal.
For those who are not aware, Bengal is a state in a the eastern part of India and well known for it’s rich culture, art and of course food!
A lot of Bengali sweets use milk as the base. For example my favorite rasgulla, chum chum and many more. Sandesh is another popular Bengali sweet which is made with only 2 basic ingredients – milk and sugar.
Okay, three if you take into account the lemon juice/vinegar which is used to curdle the milk but honestly it’s just 2 ingredients. Sounds simple right?
Well, it actually is simple yet not so simple. That’s the thing with all Indian sweets, they do not require a ton of ingredients but they require some skills and practice.
A few errors here and there and you whole sweet is ruined. Take for example this rasmalai recipe– now this is one of the most popular recipes on my blog and visited by thousands of people every day.
Again it requires only few ingredients but not an easy sweet to make. If you read through the recipe, I have given so many tips and tricks, yet I often receive messages and emails from readers who just can’t get it right.
My answer to them is always the same – practice. You will improve as you cook more, make more Indian sweets. You will have an idea of where things can go wrong, where to stop etc.
Okay enough of my gyaan (wisdom) about Indian sweets, now back to this Sandesh!
Sandesh Recipe- How To Make Sandesh Sweet
Like I said before, you only need 2 basic ingredients to make sandesh at home. But you need to be careful at each step.
Here are my tips to make the perfect sandesh at home!
1. Use whole milk: yes low fat milk is not going to cut it here. You need fat in your milk to get decent amount of chena.
Chena is nothing but coagulated milk. It’s the same as paneer except that paneer is coagulated milk which has been set by applying pressure. Chena is the base of a number of sweets like rasgulla, kalakand, rasmalai etc.
2. Use lemon juice to curdle the milk: Once you have boiled the milk, you need to curdle it. Now you can use either lemon juice or vinegar or yogurt to curdle the milk.
My personal choice? Lemon juice for making chena and vinegar if I am making paneer. I do think that vinegar results in a more solid block of paneer.
But I don’t want a hard chena for making sweets so I prefer lemon juice.
3. Let the milk cool down a little before you curdle it: I always let the milk cool down for 4 to 5 minutes before adding lemon juice to curdle it. In fact, I also add little water to bring down the temperature a bit.
If you do allow the milk to cool down a bit before adding the lemon juice, it will result in softer chena.
4. Chena should always feel a little moist: yes squeeze all the water from the chena but it should always feel a little moist.
5. Knead the chena until you get it all smooth: knead for 5 minutes!
6. Cook the chena-sugar mix on low heat and for not more than 4 to 5 minutes: very important! Once you have mixed the chena with sugar, you need to cook it on stove top to get rid of that raw smell of chena.
Make sure your heat is set to low. Stir continuously while cooking the chena and cook for no more than 4 to 5 minutes.
If you cook for longer, the chena will crumble and become grainy again.
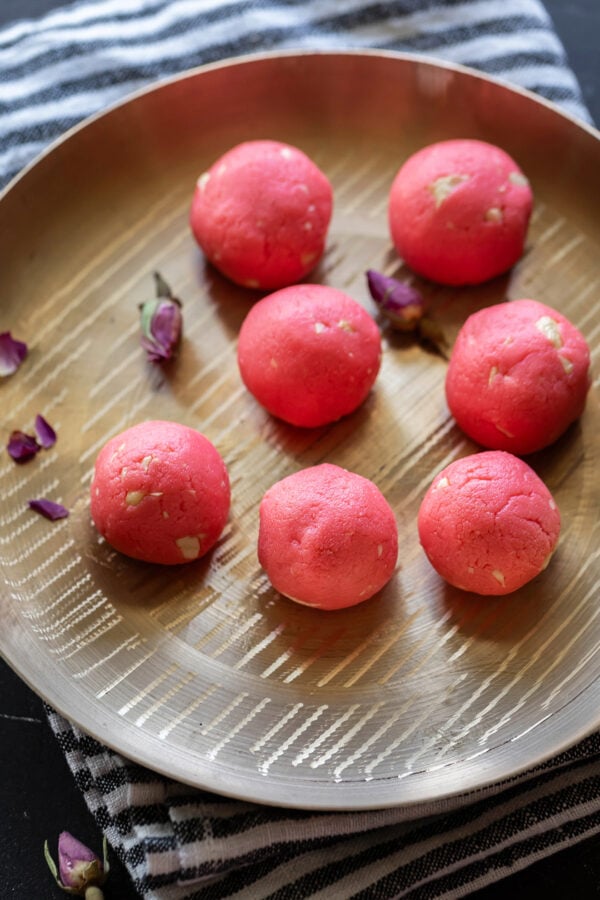
This recipe is for the basic sandesh, which means it’s not flavored, except a little bit of cardamom powder. If you want you can add ground pistachios to make pistachios sandesh, few tablespoons of rose syrup to rose sandesh and so on.
With those things in mind, let’s see how we make sandesh, the famous bengali sweet!
Method
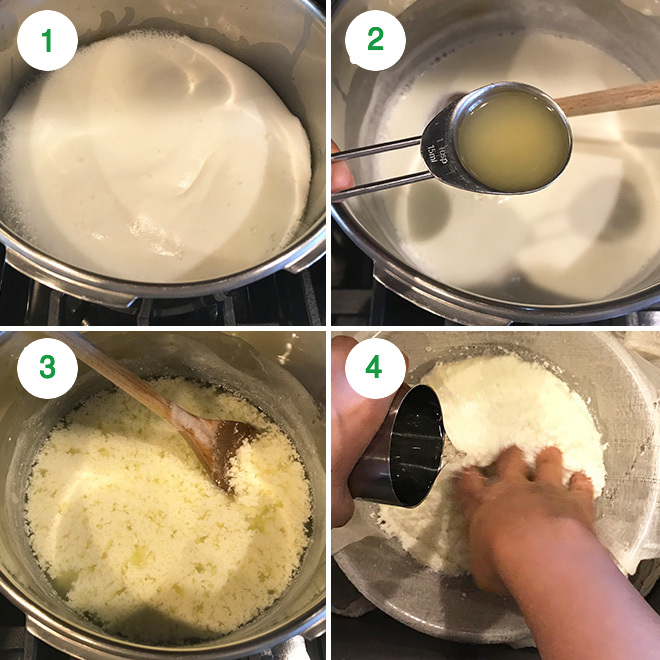
Start by lining a strainer with a cheesecloth and keep it ready.
1- Take milk in a heavy bottom pan. Put it on heat to boil. Once the milk comes to a boil, remove pan from heat. Add around 1/3 cup water to the milk and let it cool for 4 minutes.
2- Then start adding the lemon juice, 1 tablespoon at a time. The milk will curdle. Note: if you milk does not curdle, you may add more lemon juice or try with vinegar.
3- Let the milk sit for 5 minutes after you have added the lemon juice so that it curdles completely. You will notice the whey separating.
4- Pour the curdled milk over the lined strainer. Use cold water to wash the chena (that has accumulated in the cheesecloth). Washing the chena is important to get rid of the lemony taste.
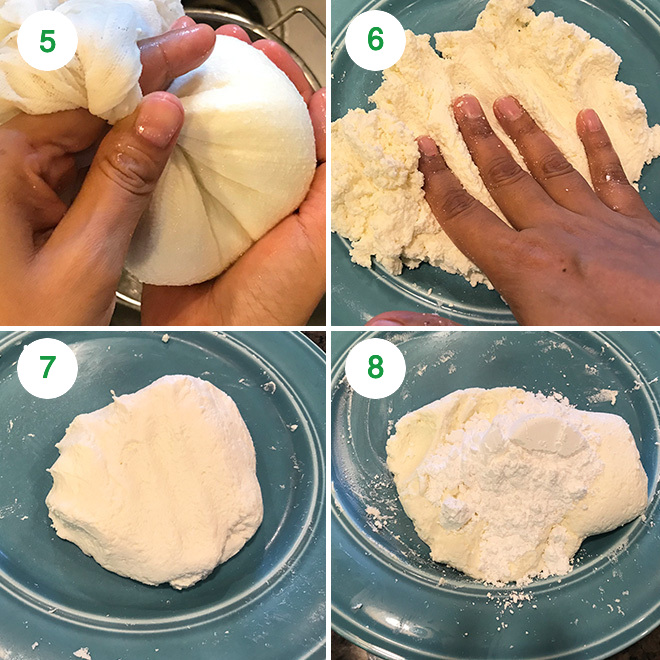
5- After you have washed the chena properly, bring all the ends of the cheesecloth together and squeeze as much water as you can. Tie and hang the cheesecloth (I usually tie to my water tap) and let it hang for 15 minutes.
6- After 15 minutes, remove the chena from the cheesecloth and transfer it to a plate. Crumble it with your hands and then start kneading/pressing it.
7- You have to knead for 4 to 5 minutes or until the chena becomes smooth and soft.
8- Now add powdered sugar to the chena and mix using a spoon. It will become all soft so use a spoon rather than using your hands.
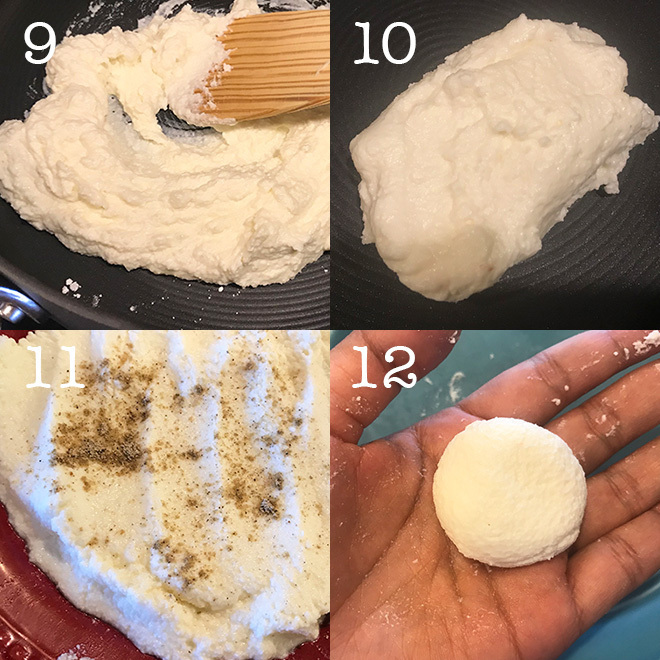
9- Put a non-stick pan on low heat. Remember to use a non-stick pan and keep it on low heat only. Transfer the chena-sugar mixture the the pan.
10- Keep stirring continuously as you cook the chena. Cook for no more than 4 to 5 minutes. It will thicken up and leave the sides of the pan. If you cook for more than 5 minutes, the chena is going to crumble and turn grainy again.
11- Transfer to a plate and let it cool down for 15 minutes. Then add cardamom powder and mix well.
12- Make small balls from the mixture, I got around 7. Roll between your palm to make it round and then press slightly.
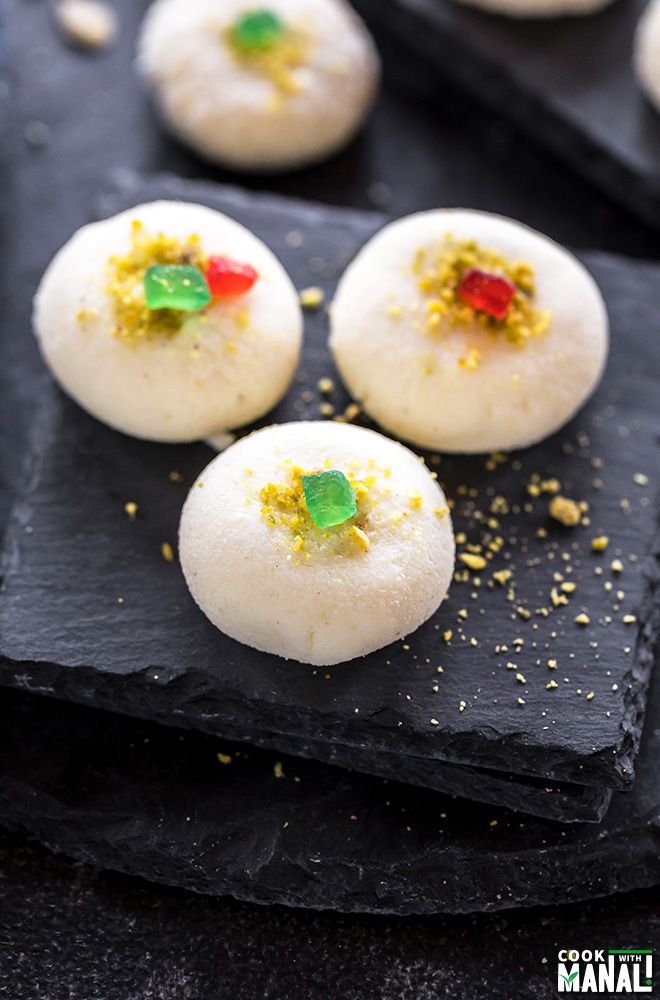
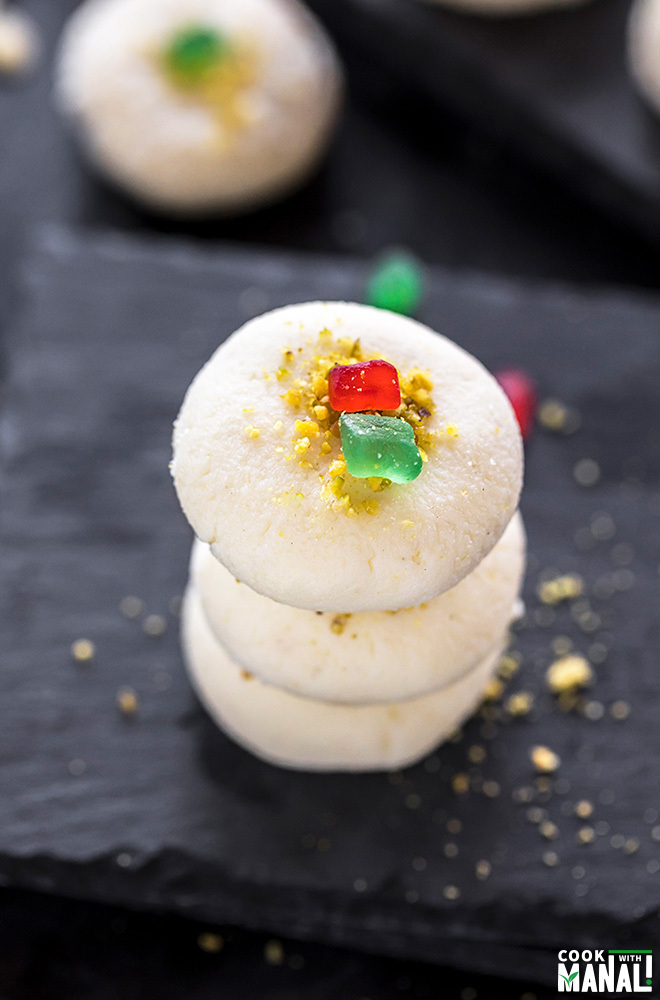
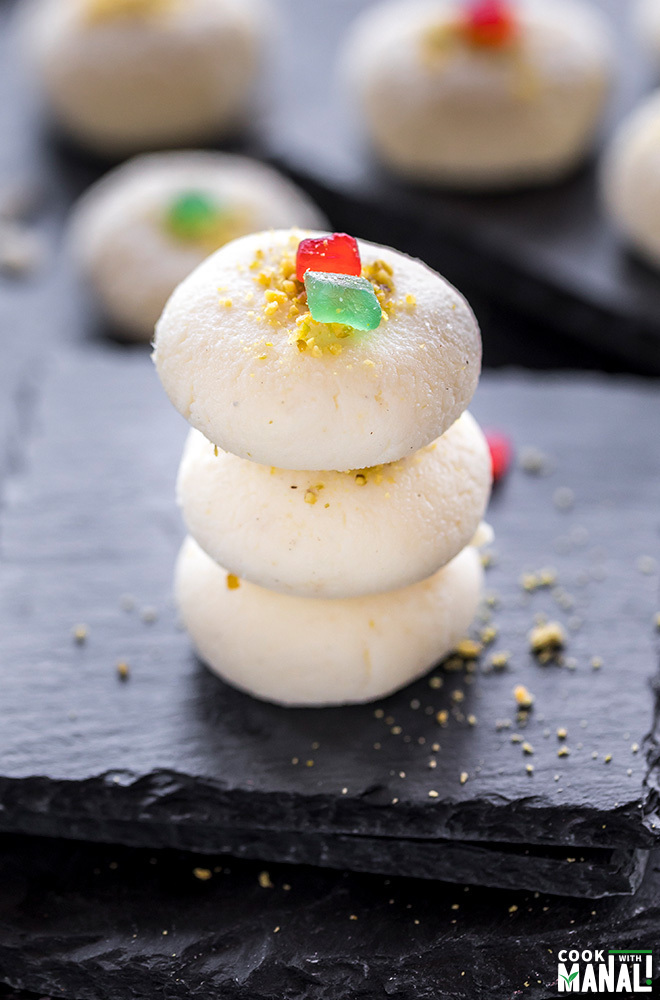
Decorate sandesh with chopped nuts/chocolate chips or tutti frutti. Keep it in the refrigerator for couple of hours before serving and enjoy!
Keep it refrigerated.
If you’ve tried this Sandesh Recipe then don’t forget to rate the recipe! You can also follow me on Facebook, Instagram to see what’s latest in my kitchen!
PS: Since Sandesh is made with only milk, it should be consumed with in 2-3 days.
Sandesh
Ingredients
- 1 liter whole milk
- 2 tablespoons lemon juice 30 ml
- 1/3 cup powdered sugar 42 grams, or adjust to taste
- 1/8 teaspoon cardamom powder
- crushed pistachios, sliced almonds, tutti frutti to decorate
Instructions
- Start by lining a strainer with a cheesecloth and keep it ready. Take milk in a heavy bottom pan. Put it on heat to boil. Once the milk comes to a boil, remove pan from heat. Add around 1/3 cup water to the milk and let it cool for 4 minutes.
- Then start adding the lemon juice, 1 tablespoon at a time. The milk will curdle. Note: if you milk does not curdle, you may add more lemon juice or try with vinegar.
- Let the milk sit for 5 minutes after you have added the lemon juice so that it curdles completely. You will notice the whey separating.
- Pour the curdled milk over the lined strainer. Use cold water to wash the chena (that has accumulated in the cheesecloth). Washing the chena is important to get rid of the lemony taste.
- After you have washed the chena properly, bring all the ends of the cheesecloth together and squeeze as much water as you can. Tie and hang the cheesecloth (I usually tie to my water tap) and let it hang for 15 minutes.
- After 15 minutes, remove the chena from the cheesecloth and transfer it to a plate. Crumble it with your hands and then start kneading/pressing it.
- You have to knead for 4 to 5 minutes or until the chena becomes smooth and soft.
- Now add powdered sugar to the chena and mix using a spoon. It will become all soft so use a spoon rather than using your hands.
- Put a non-stick pan on low heat. Remember to use a non-stick pan and keep it on low heat only. Transfer the chena-sugar mixture the the pan.
- Keep stirring continuously as you cook the chena. Cook for no more than 4 to 5 minutes. It will thicken up and leave the sides of the pan. If you cook for more than 5 minutes, the chena is going to crumble and turn grainy again.
- Transfer to a plate and let it cool down for 15 minutes. Then add cardamom powder and mix well.
- Make small balls from the mixture, I got around 7. Roll between your palm to make it round and then press slightly.
- Decorate sandesh with chopped nuts/chocolate chips or tutti frutti. Keep it in the refrigerator for couple of hours before serving and enjoy! Keep it refrigerated.
Nutrition
Nutrition information is automatically calculated, so should only be used as an approximation.




Excellent recipe
Sandesh turned out really yummy
Thanks Manali
Can I use vinegar instead of lemon juice
yes you may, I generally prefer lemon juice when making sweets since I feel vinegar results in a firmer chena and we want it soft for sweets.
Sandesh come v well…thank you manali
glad to know!
When do we add rose water?
I have not used rose water in the recipe, if you want to, add when you put the chena on heat.
My sandesh got crumbled at the end and quantity of milk was little less than 1 litre!
It was soft before adding sugar but after adding sugar i think it released some water so my dough became little wet
(I added 50 grams of powdered sugar)
Then after cooking chena in low for 1 minute it starting releasing all water and my dough crumbled and became very dry!
Where did i go wrong ?
looks like there was still a lot more moisture in the chena than needed.
can i use boora instead of powdered sugar? Boora is used for besan ladoo and is slightly grainy
but sandesh is supposed to be smooth so why do you want to use grainy sugar?
Can i use amul homogenised toned milk ?
toned milk will give less chena since it has less fat, won’t recommend.
Manali, my Chenna seems too watery and didn’t bind like yours did. Any ideas? I also tripled your recipe to make more, so any tips are appreciated!
either you over cooked the chena or you didn’t squeeze enough water from it before kneading. This seems like a simple sweet but takes some practice, so don’t worry 🙂 You will get it right next time. Use the crumbled chena to make kheer!
Lovely sweet